
Setting up Engage
Before you start using Metorik Engage, you'll need to set it up. Since Engage sends emails on behalf of your store to your customers, you'll need to verify your email/domain and configure a few settings so the emails include your information on them.
Video
Configuring Engage
Setting up Engage takes just a few minutes. Follow these steps:
Go to the Engage setup page
Navigate to the Engage setup page: https://app.metorik.com/tools/engage/setup
Click Get Started
Click the Get Started button to begin the setup process.
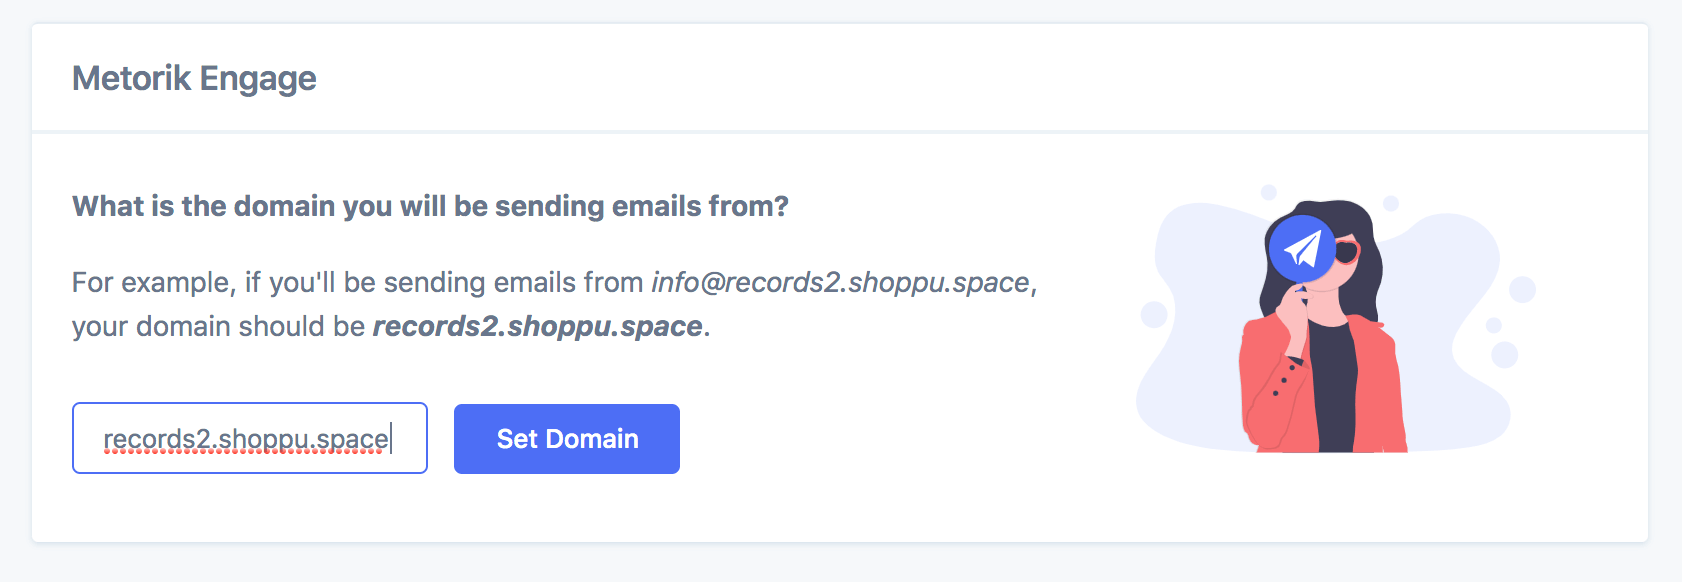
Enter your sending domain
Enter the domain you'll be sending emails from. Normally this is just your store's domain (e.g., myshop.com). If you use a subdomain like shop.myshop.com, you'll probably want to set this to myshop.com since your emails would come from [email protected].
In the example below, we want to send emails from [email protected], so we'll enter records2.shoppu.space as the domain.
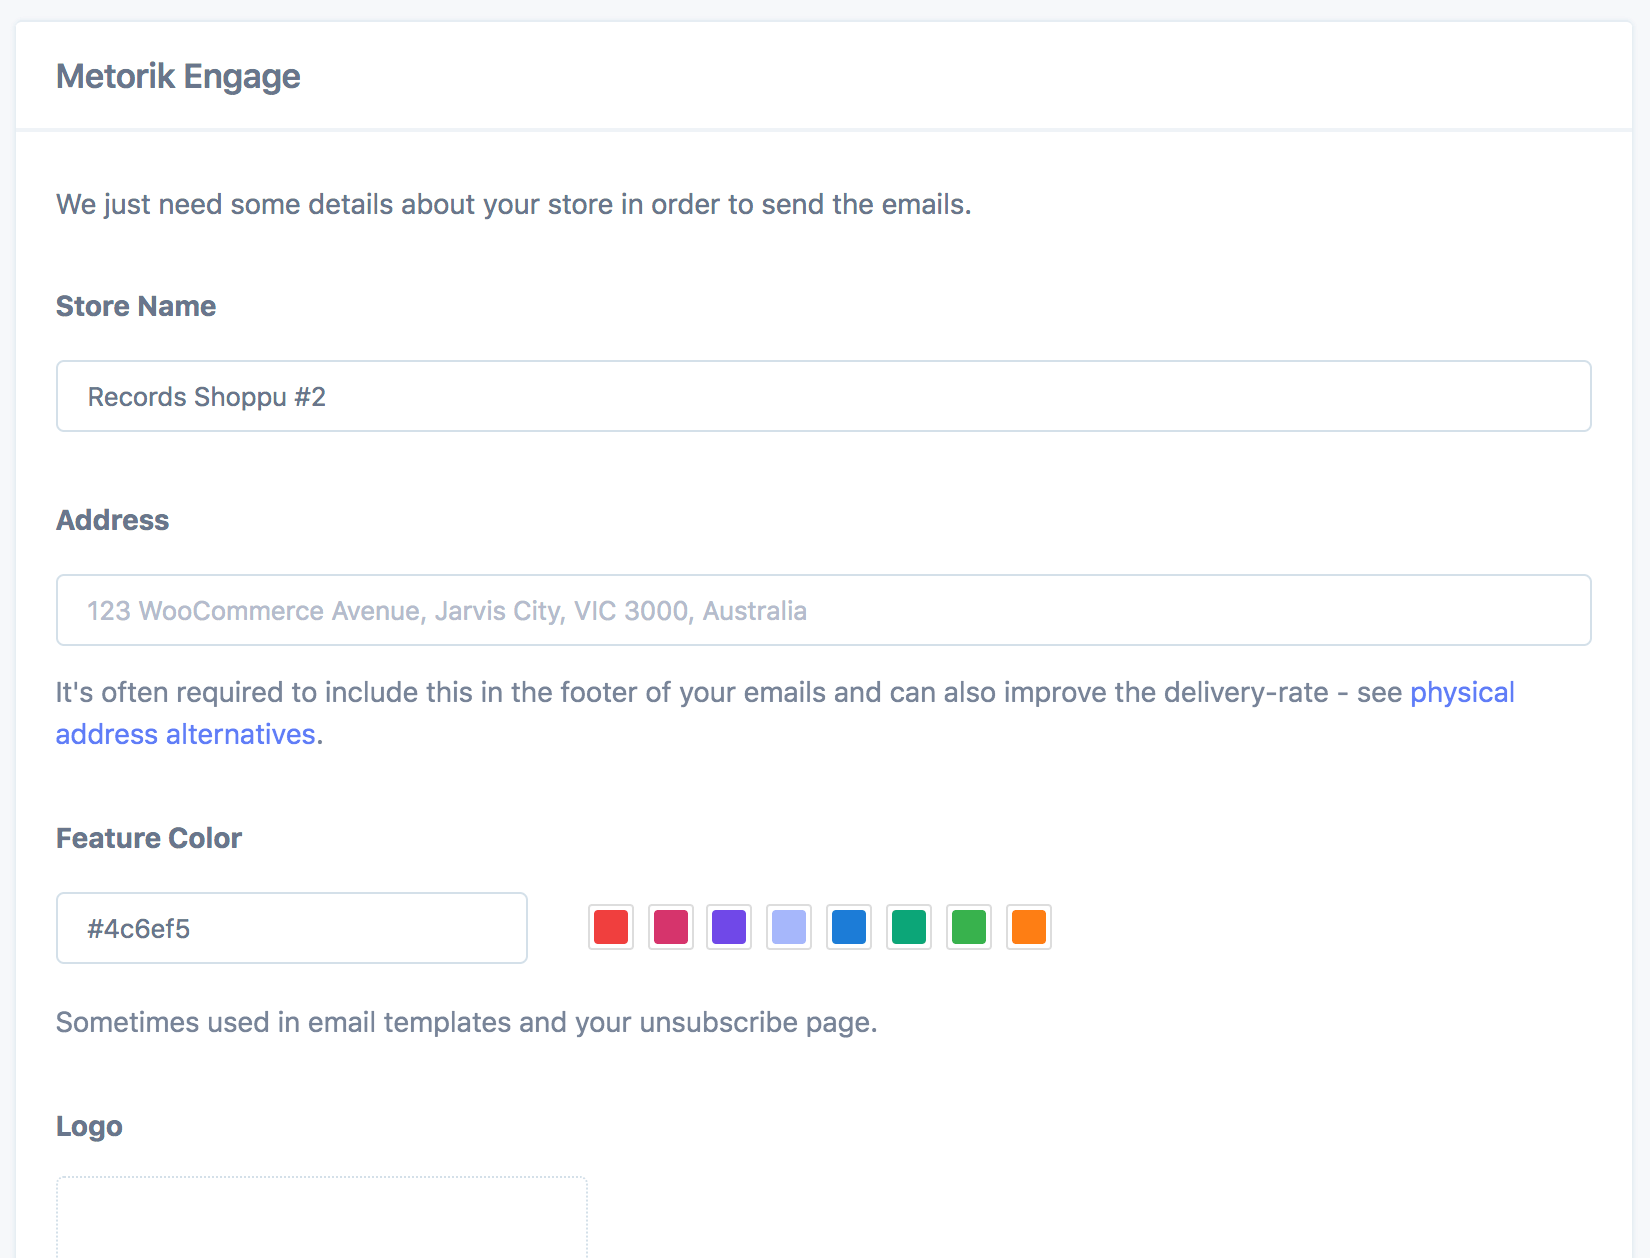
Configure your Engage settings
Fill in the Engage settings shown. Don't worry if you leave some of these blank — you can always edit them later from the Engage settings page.
Set up UTM tracking and import unsubscribes
Configure UTM tracking and choose whether to import any unsubscribed emails. These settings can be edited later, but we recommend setting them up now as it can be easy to forget.

Learn more about UTM tracking and unsubscribes.
Verify your domain or email address
Now it's time to verify either your domain or an email address:
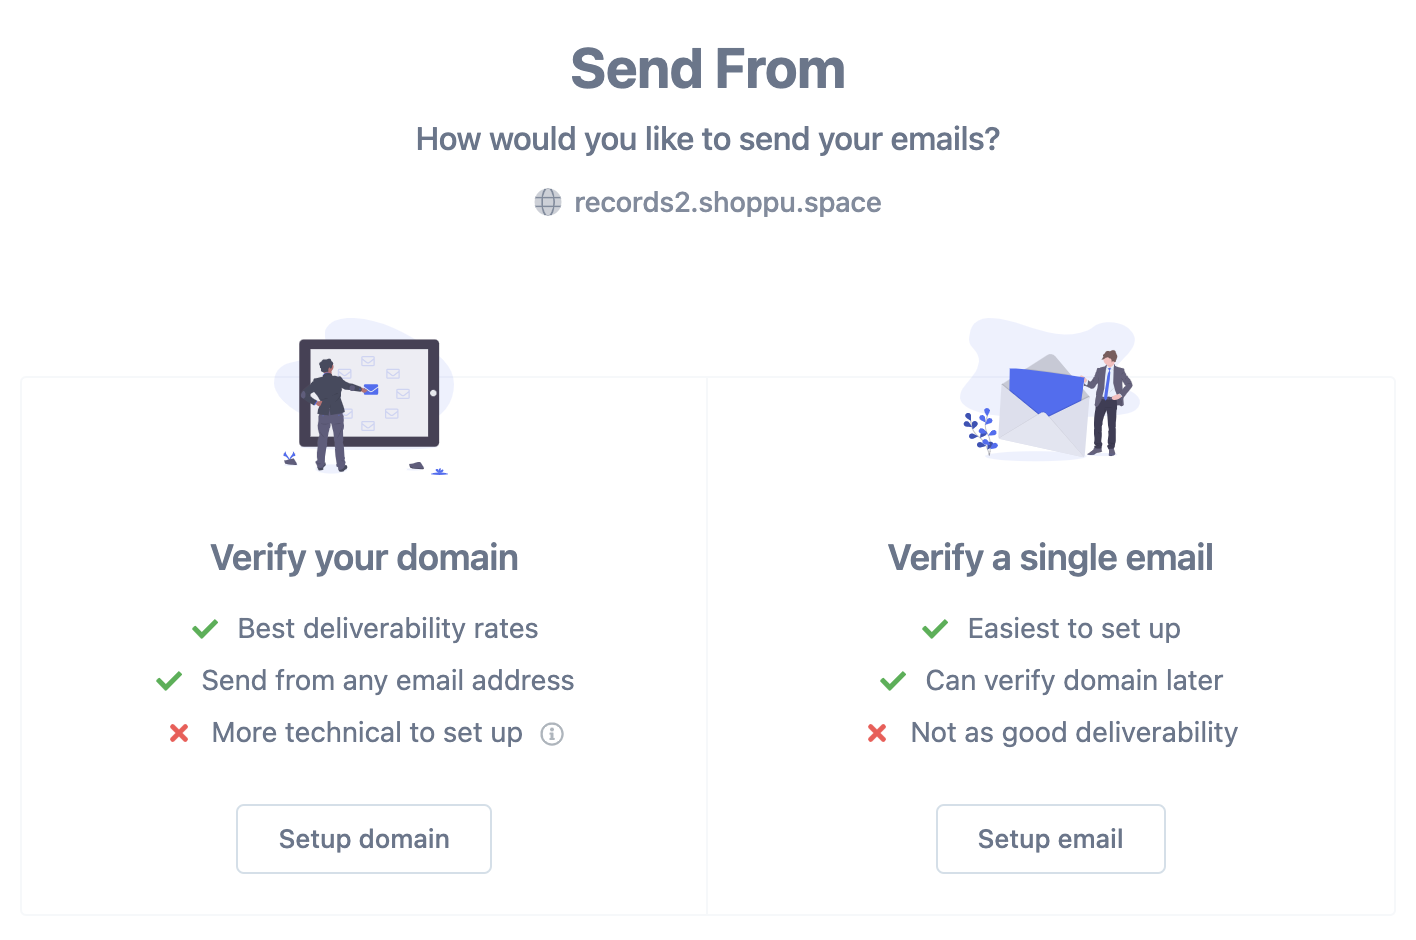
Verifying your domain is the best option. It's a bit technical, but the long-term benefit is that you'll have much higher delivery rates and you can send from any email address instantly.
Learn more about domain and email verification in this help doc.
What's next?
Now that you've set up Engage, it's time to create some automations.