How to use the email builder
In this article
What we'll build
We are going to create this simple email template for Order emails.

General Body
There are a few overall settings that we set first such as the width of the email and the links color. From the far right we can set these under the General setting after clicking the Body icon. The only change we will make to the default settings here is to change the Links Color setting to #F08C00 and the Font Family to Rubik.

Create rows
The email template consists of the following 5 rows (sections)
- Header with image
- Order intro text (with button)
- Order products
- Billing/Shipping info
- Footer
So we'll go ahead and create those first so we have a structure to work with.
By default a new template already has a Header, Text and Footer rows.
The Order products section will be just below the Text section so we just hover over the Text row section and click the plus sign to add a new Row.

Repeating this once more for the Billing/Shipping info row gives us our 5 rows of the template.
We can now go ahead to edit each of these rows to make it look like our desired template.
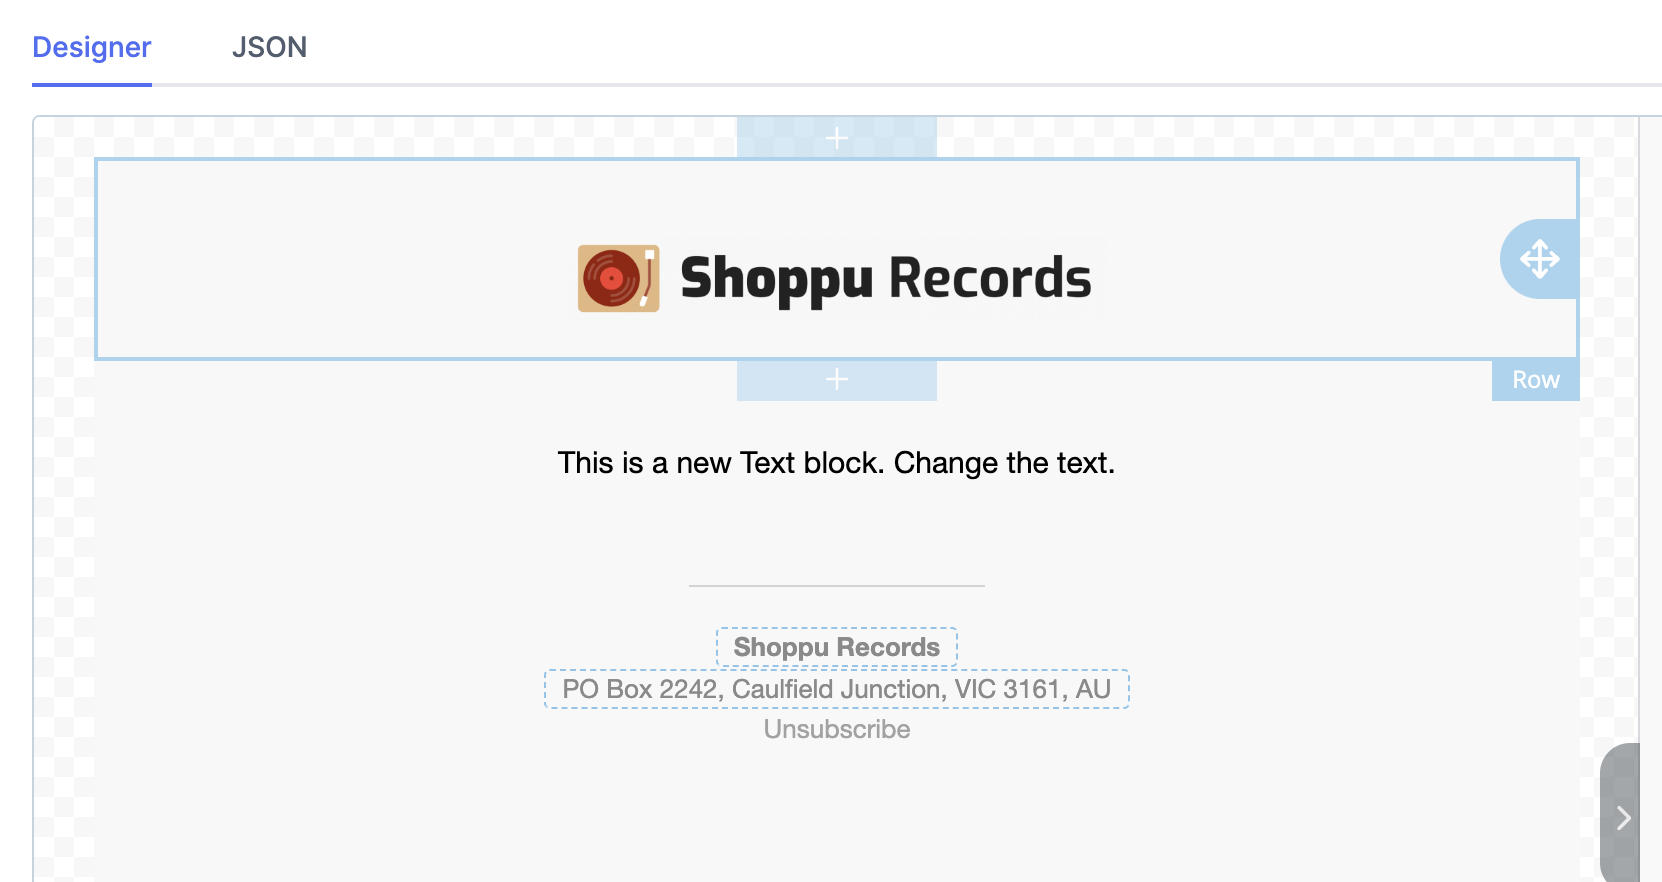
Header with image

This is where we will add our logo, by default it will show your store logo that you have set up in the Engage settings here using the {store_logo} variable.
We are adding a different logo in our example so after clicking on the image it will automatically bring up the image content and we can click on the blue Upload Image button to upload our own image.

Once uploaded we adjust the logo size to the desired width by unchecking the Auto Width setting and changing the percentage.

We also want to change the padding under the General section setting.

Now to add the large image below, we choose the image icon on the right and drag it below the logo.

We can then upload the logo like we did with the store logo.

And remove the padding.

To finish this first row we just want to add a border around it and remove any padding, so after clicking on the row in the editor, we can set that under the Border option in the Row settings changing it to Solid 3px #000000 and the padding can be removed from the Padding section.

The first row is now complete.

Text with button

This section has 4 content parts to it
- Text order number
- Text title
- Text information
- Button

Currently, the section just has one text content so we'll add 2 more and then drag a button icon to put at the bottom.
To add 2 more text content areas, you can click the Duplicate icon in the bottom right-hand corner of the content area.

And also drag a button content area in from the Button icon on the right.

Now we just need to edit the 4 content sections with the desired content and styling.
When you click on a text area you will see some different options including Variables, we are going to add the Order Number variable after the text and then from the main text options in the settings on the right we will left align the text.

For the next content section, we will bold the text, align left, and set to 24px.

For the last of the text areas we will set the font size to 16px, left align and add a {first_name} variable.
But what if the {first_name} is empty for the order? We can use variable fallbacks to provide some backup text. So instead of {first name}, we could write {first_name|friend}. If there is no first name, it will use friend.
Let's also add a link to view the order. We can use the {view_order_url} variable to generate a link.

We'll do the same with the border as the last row, but without the top border and also change the padding on the row.

The last thing is to change the button text by clicking directly on the button, then change the color in the main settings on the right and left align.

This gives us the completed text section.

Order products

We will now list the products that are in the order by dragging the orders icon into the content area.
This gives us 3 products by default however you can change the number in the settings if you like.

Then change the padding of the section to 10px with the same black border to the 3 sides to finish the order content section.
Billing and shipping info

To create this we do the same as the last content section with dragging the order icon into the content area but this time we select the "Billing/Shipping Info".

From here we just adjust the content area padding slightly (and add the same row border on 3 sides).

Which completes that section.
Footer

This is just a simple text area which we drag in from the text icon in side settings like the previous text section, but we add the 2 variables Store Name and Store Address after clicking on that content area and selecting the Variables dropdown.

Now we just set the content background to black in the settings on the right and the footer is complete.
The template is now ready to go so we can click Save Template at the top and can begin to use it in our Order email automations.