Creating Digests
Metorik Digests allow you to send completely customizable reports to your email (or multiple emails) or a Slack channel daily/weekly/monthly.
We have a whole range of customization options that will allow you to tailor your digests to your exact needs — so without further ado, let's jump in.
Creating your Digest
From your sidebar, click Digests. Then click the New Digest button at the top of the page:

Metorik will then walk you through setting up your new digest:
Name your digest
Choose the name for your digest and the subject that will be included in the email:
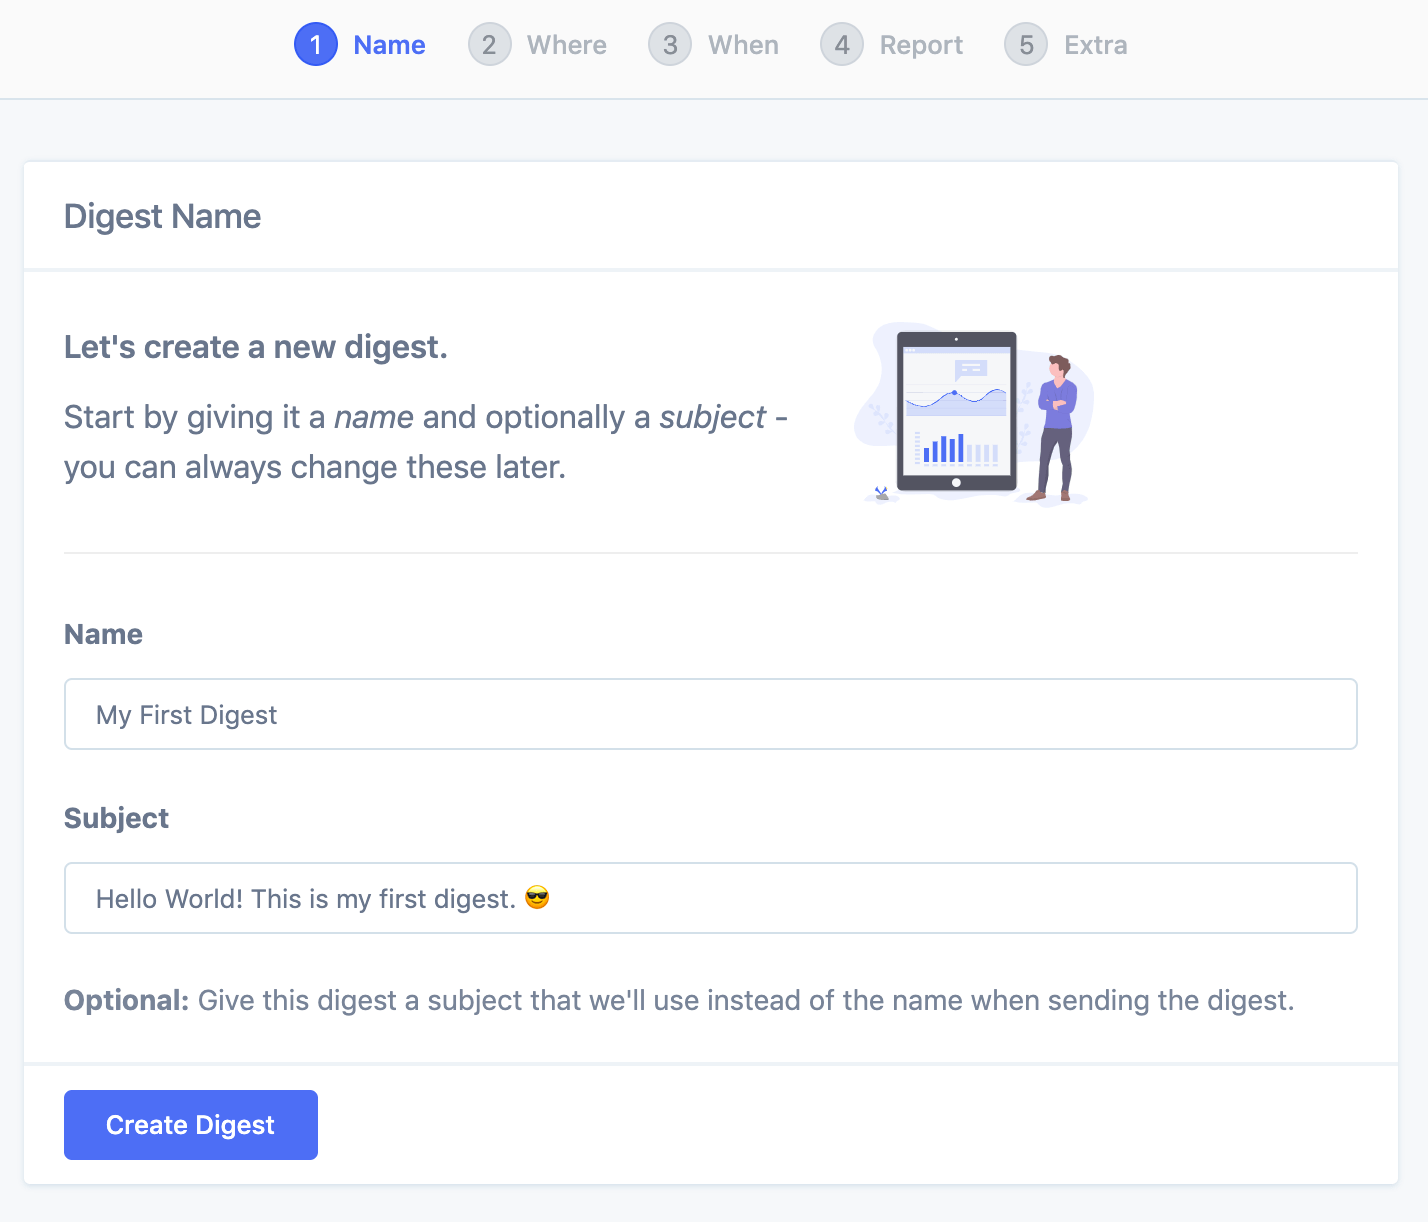
Note: The subject line is optional — if you leave it blank, we will use the Digest name as the subject in the email.
Choose where to send it
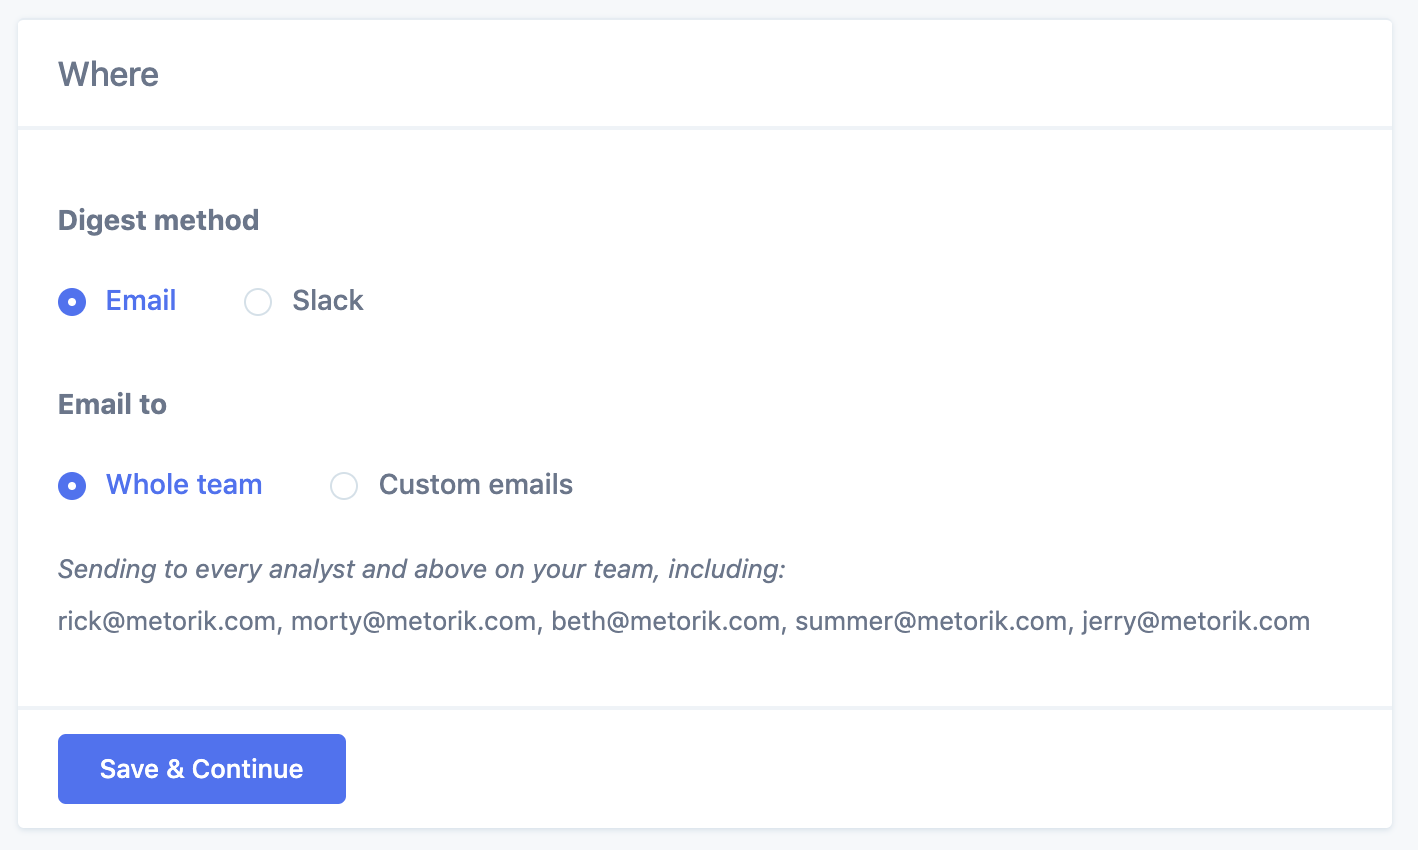
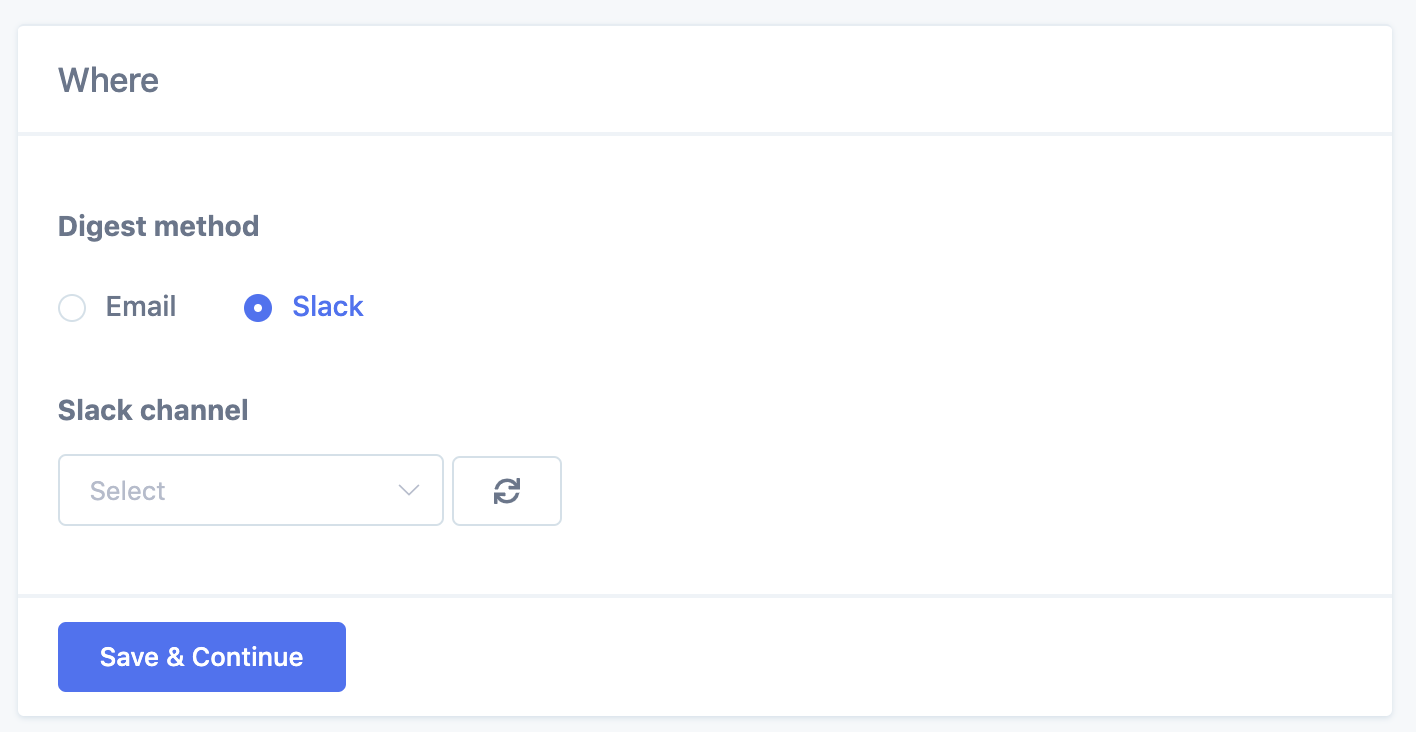
Choose how you want to send the digest; email or Slack:
If you choose email, you can then opt to send the digest to your entire team (every team member with the analyst, editor, or admin role will receive it).
This includes team members that get added in the future after the digest is created. If a team member was later removed or their role changed to packer, they would stop receiving the digest automatically.
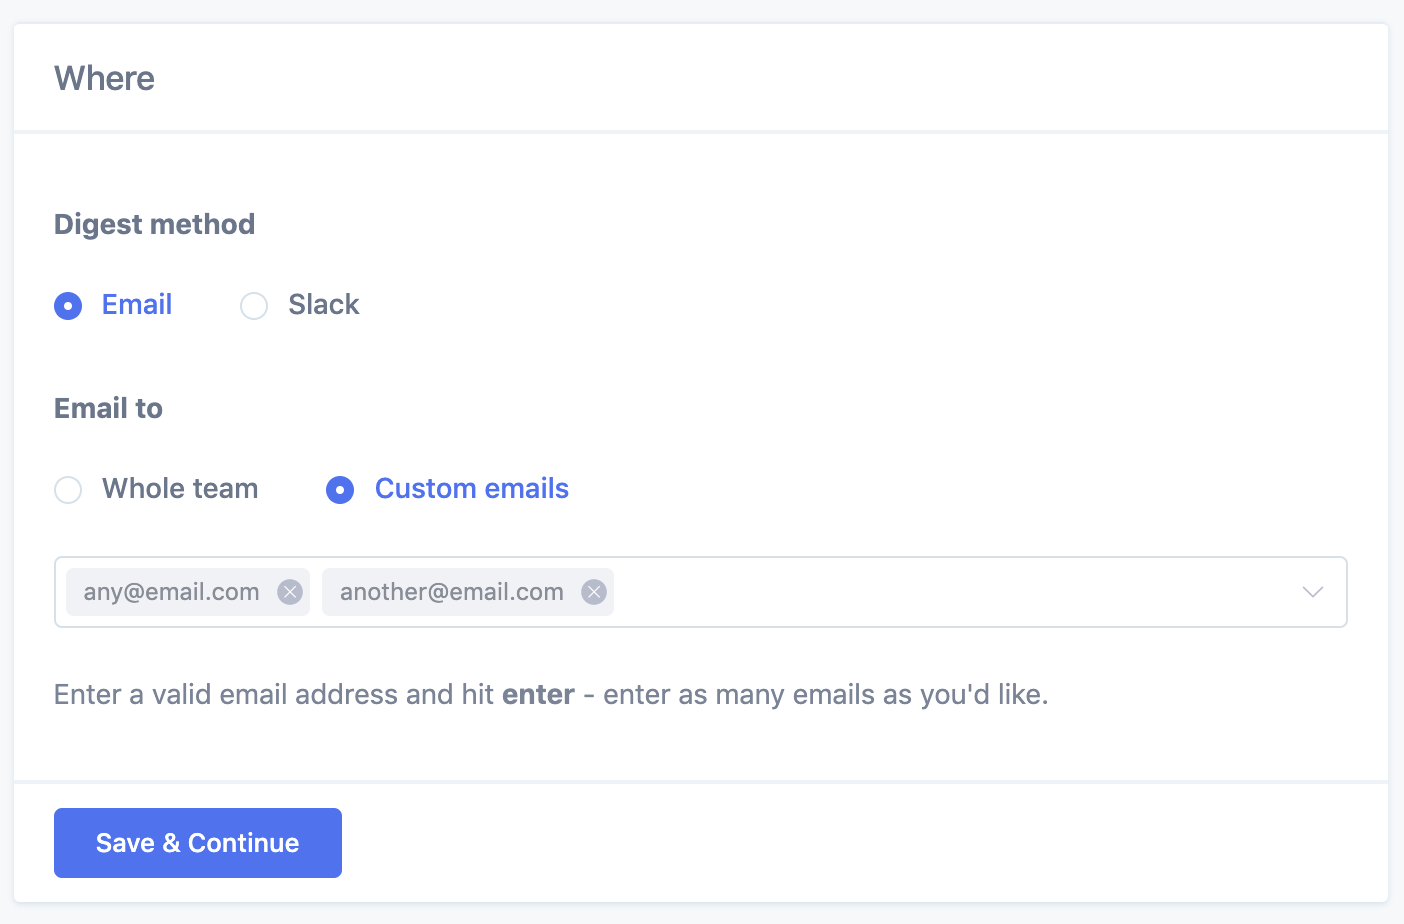
Or if you have certain people you'd like to send the digest to, you can choose 'custom emails' and enter the specific email addresses. These recipients do not need to have a Metorik account.
Slack
Select which Slack channel the digest should be sent to:
And if you haven't connected your Slack workspace yet, click connect your Slack team and follow the steps to get it connected:
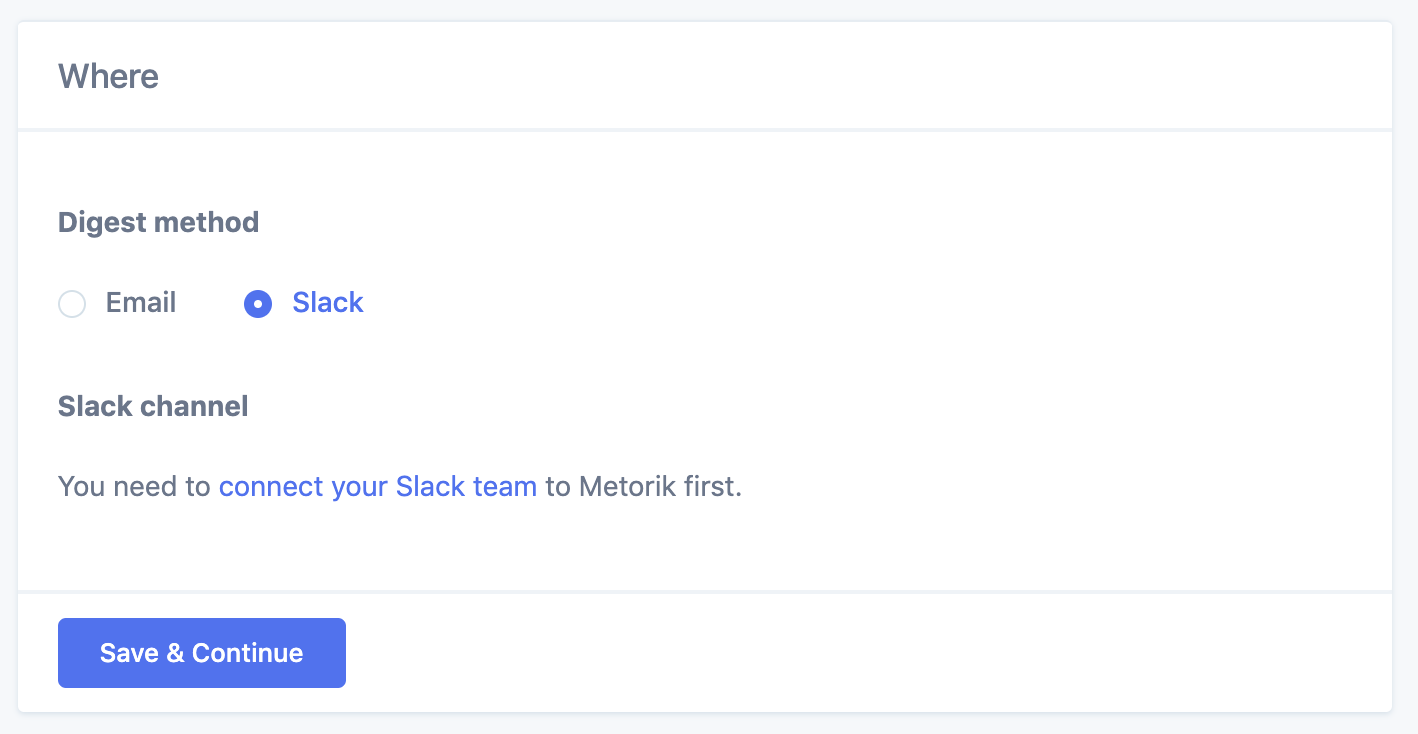
Once connected, select which channel you want the digest to be sent to.
Choose when to send
Next, choose how often the digest should be sent (daily/weekly/monthly):
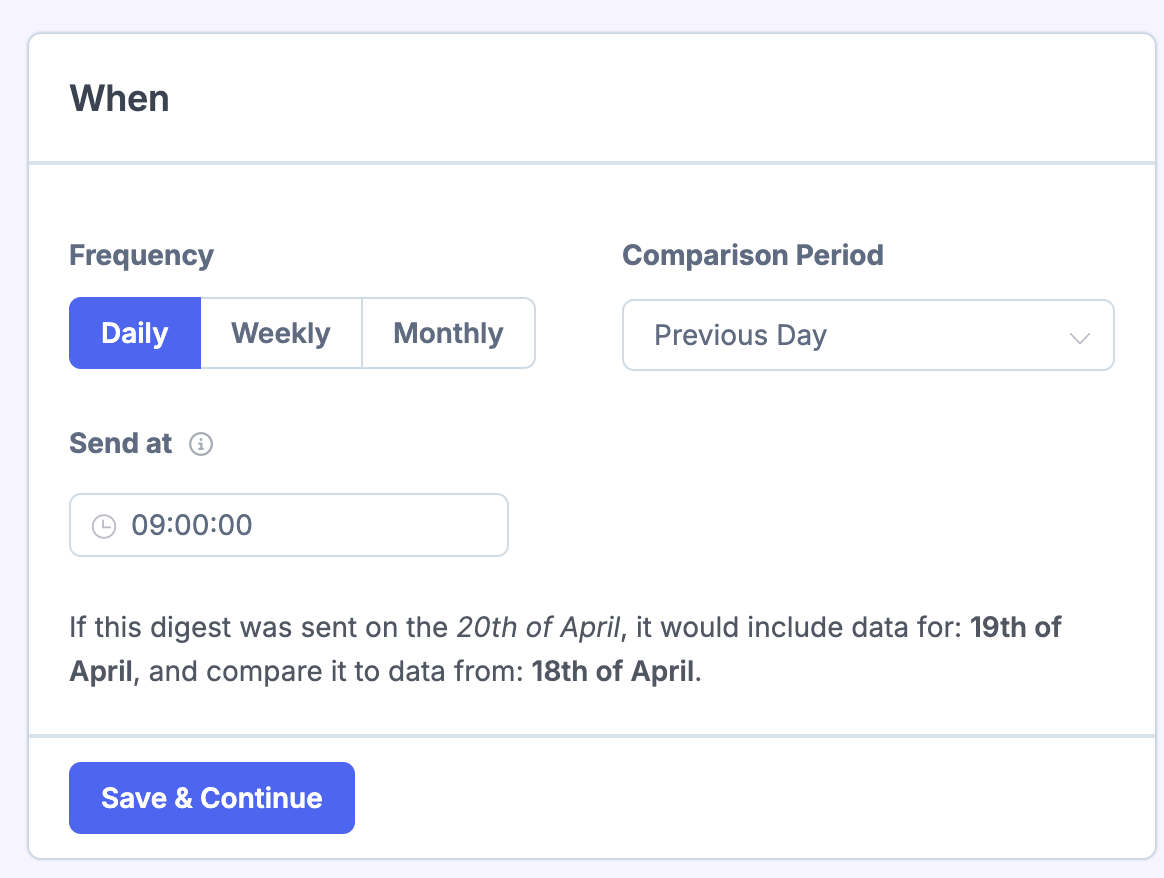
We don't include the current day when sending the digest (as it isn't complete yet), so keep that in mind when choosing the frequency. So for example, if you create a weekly digest and it was set to send every Monday, the digest would include data for the previous week from Monday - Sunday. So if it was Monday the 20th of April, the digest would send for Monday the 13th of April - Sunday the 19th of April.
You also have the option to compare to a different period:
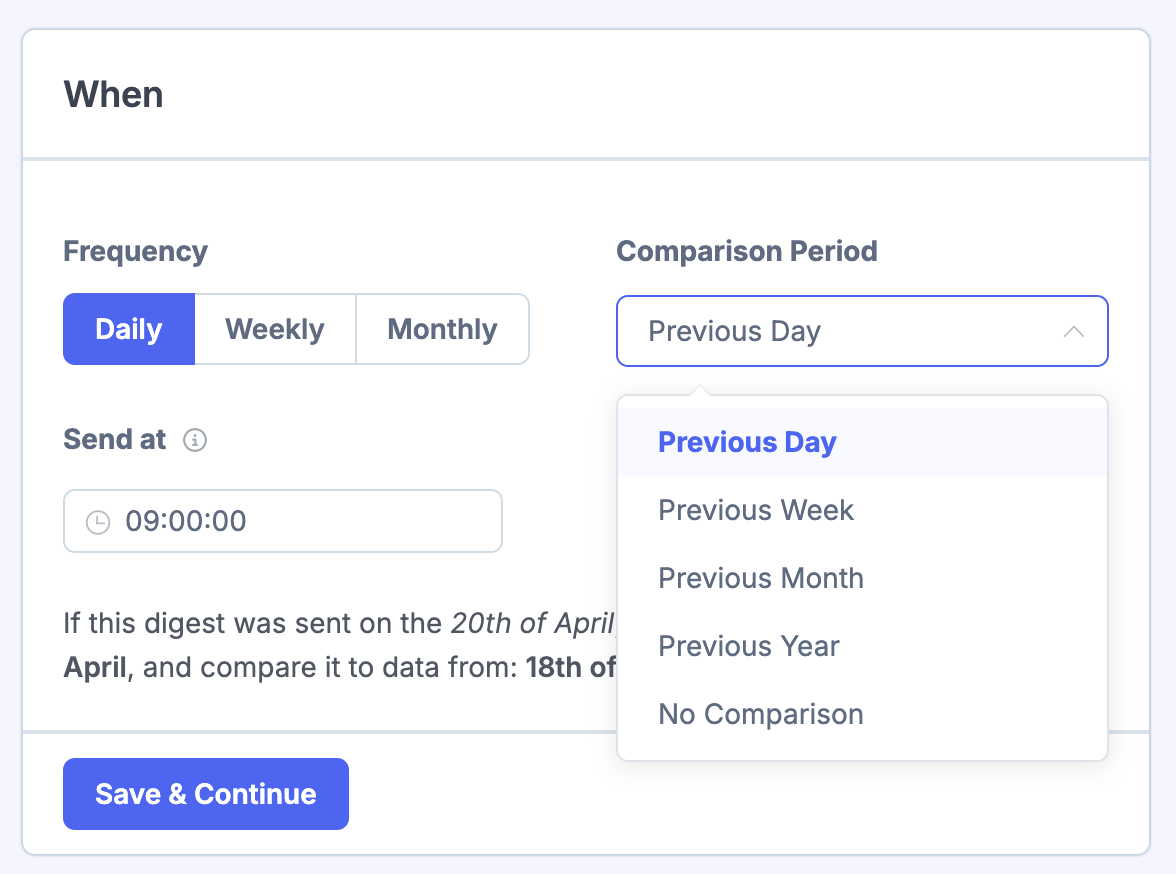
So, for example, if you have a Monthly digest, you can choose to compare it to the previous month, the same month from the previous year, or to have no comparison at all.
Add your report data
You can choose from one of the pre-built layouts we include or one of your own custom dashboard layouts. If you choose one of your dashboard layouts, any changes to it on the dashboard will also update the digest.
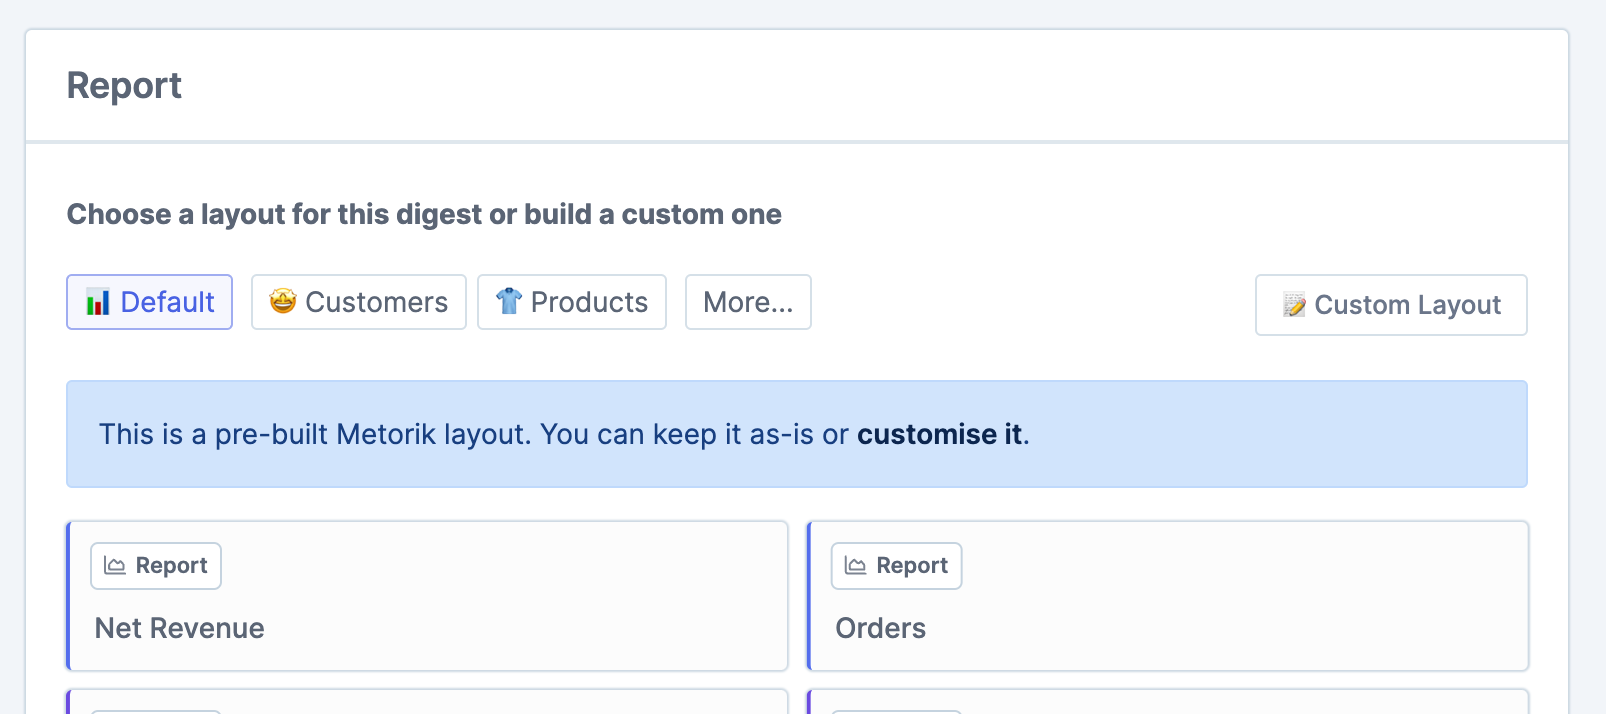
To get a bit more control over the report, you can customise it. Click customise it in the notice above the layout to use the current layout as the starting template, or click the custom layout button to switch to your custom layout.
Customizing the report
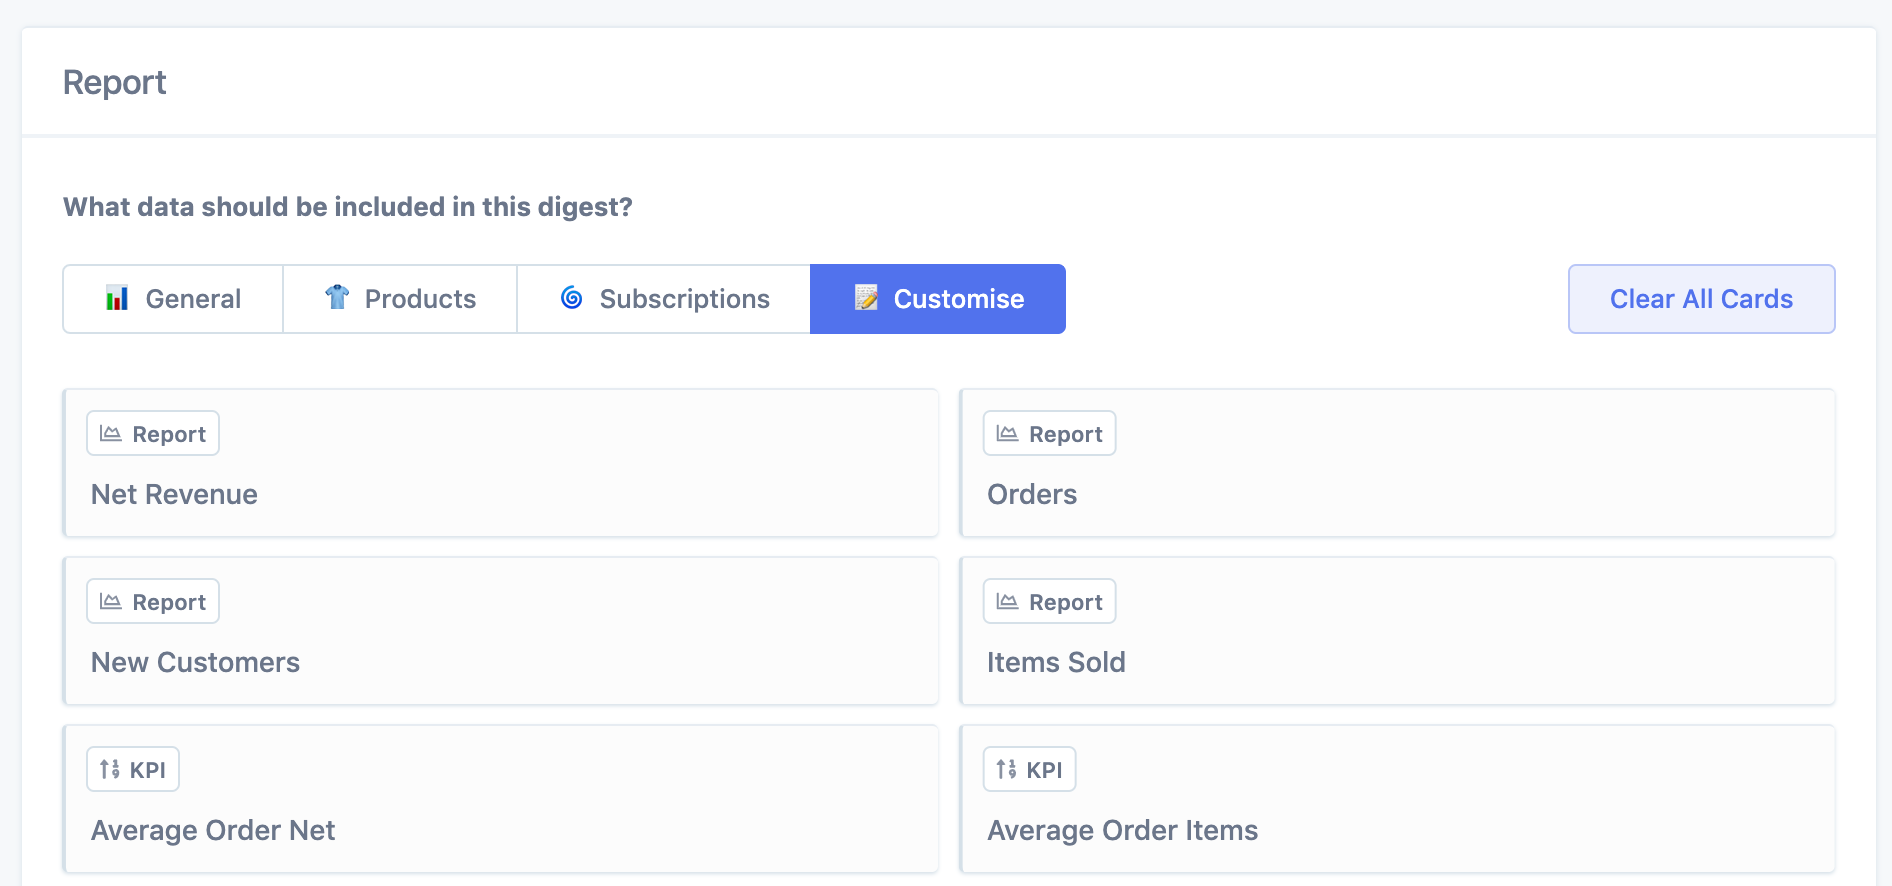
When you click customise, it will copy all the items from the pre-built layout you just selected. So if you had the general layout selected, and then clicked customise, all the cards from the general layout will be copied.
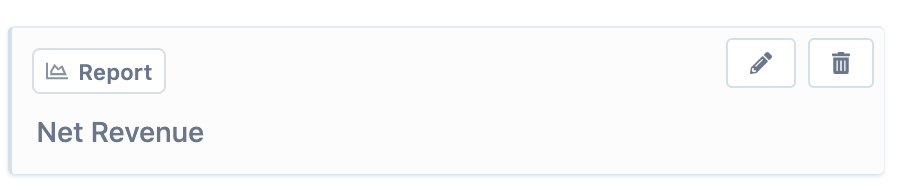
You can start customizing by editing and deleting each individual card (pencil or trash button):
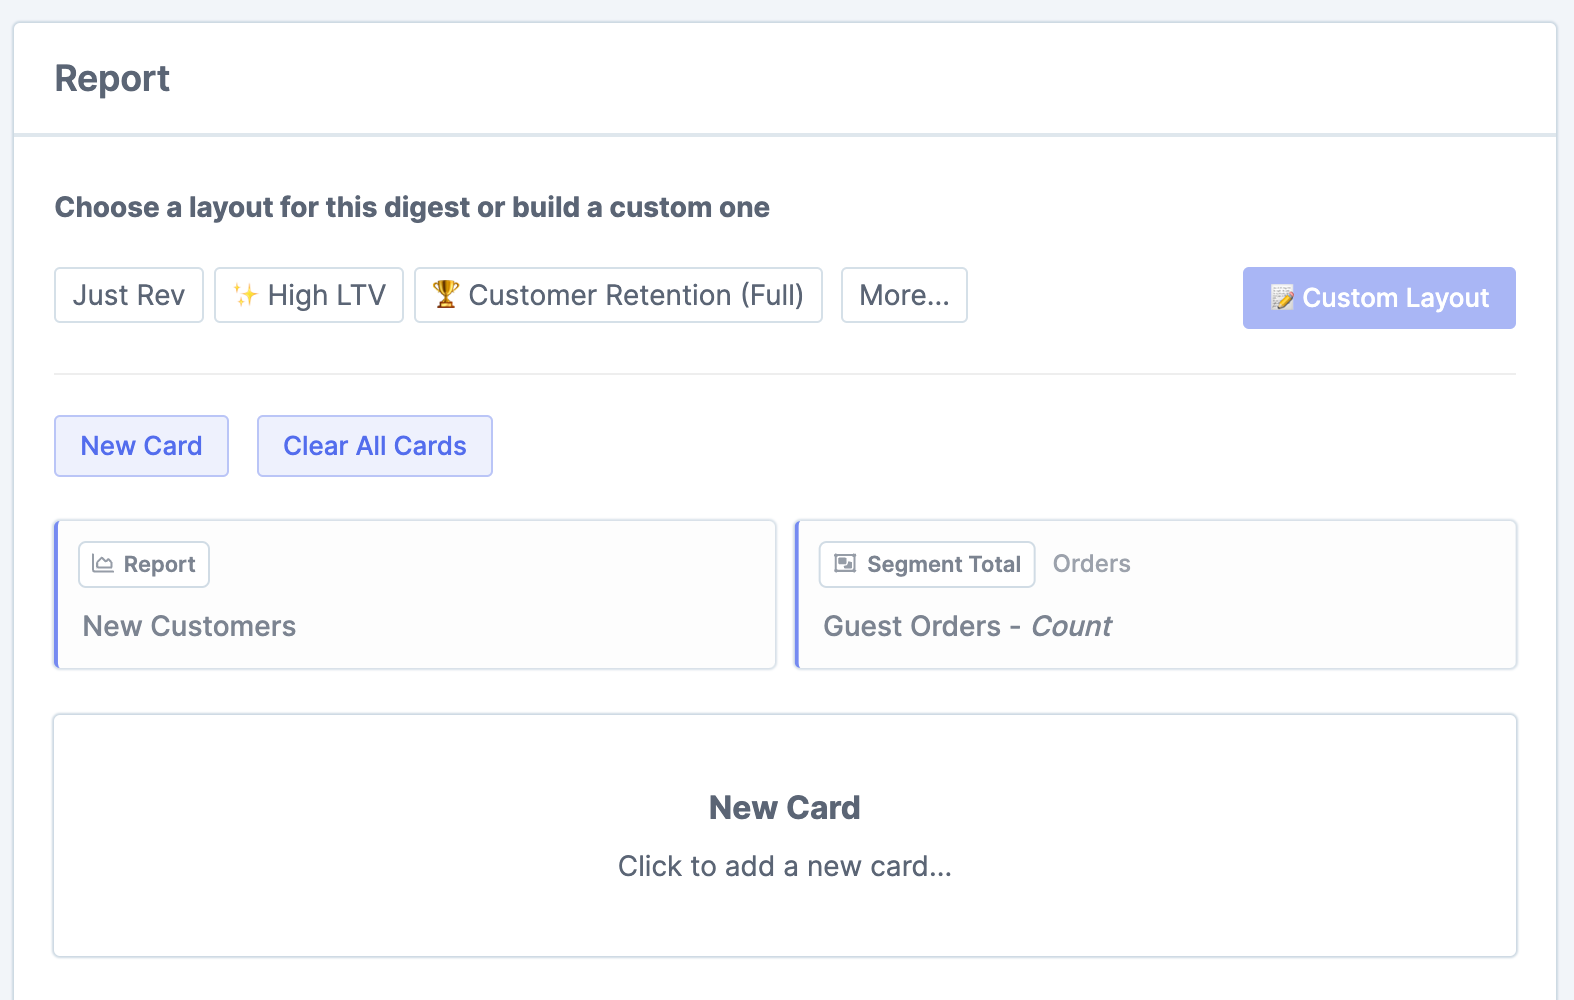
And if you want to start completely from scratch, click the Clear All Cards button:
Click New Card at the bottom of the page to add a new card:
Adding a new card with digests is very similar to adding one on the dashboard. As such, we'd highly recommend reading the Customising the Dashboard guide. Simply select whether you want to add a report, KPI, segment total or segment list. You can also add headings and dividers to format the email:
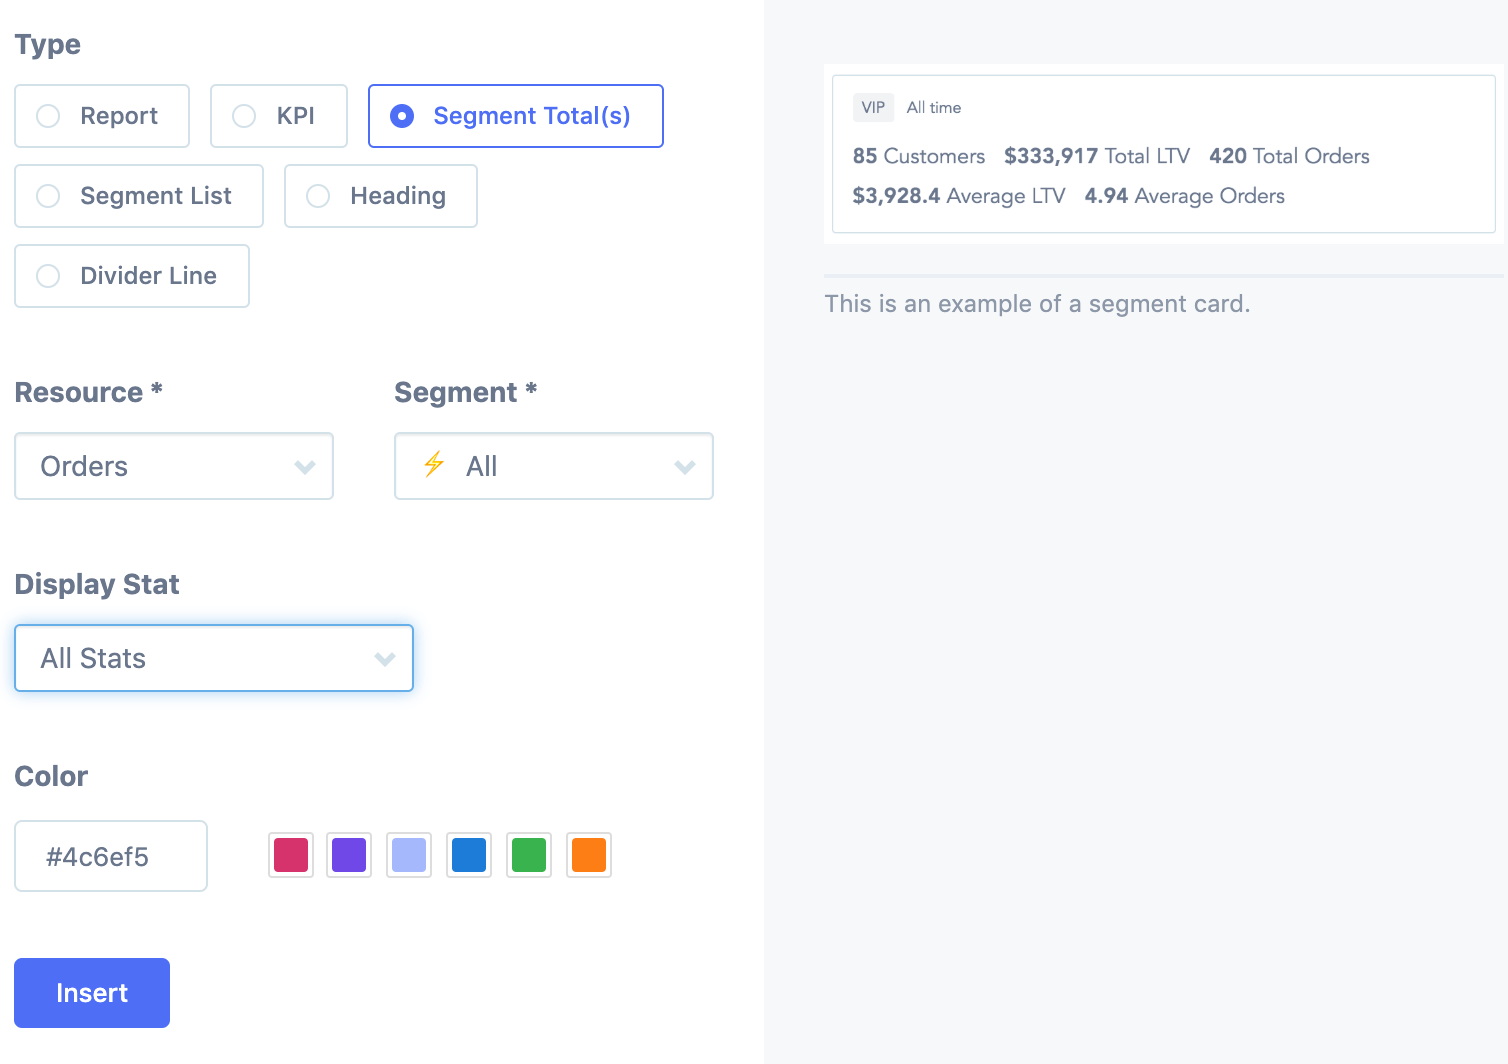
Click Insert to add the card.
You can drag and drop any of the cards to change their layout:
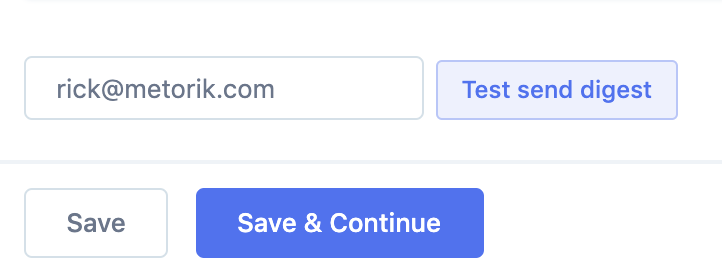
You can also send yourself a preview of what the final digest will look like:
Configure extra settings
Choose who can actually edit the digest. You'll only see this setting if you were the one who created the digest originally or you're the store owner.
Selecting the whole team will mean all admins, editors, and analysts on your team will be able to edit the digest:
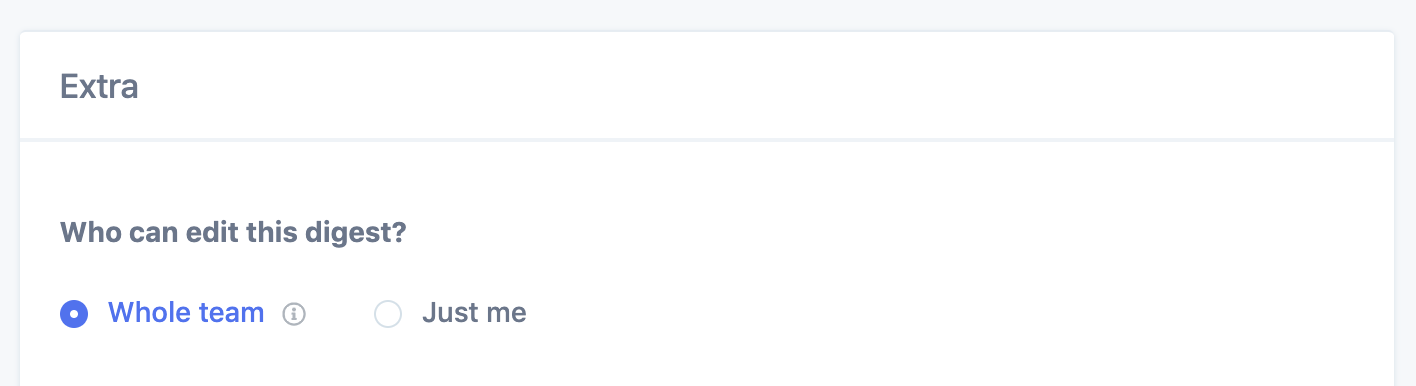
When you select just me, only you will be able to edit the digest. Other team members and email addresses can still receive it, but they can't edit it.
The only exception here is that the store owner will still be able to edit it.
Finally, you can choose whether the digest should be sent even if there are no sales for the period:

Click Save & Activate and you're done!
You'll now find the digest under the Digests tab.

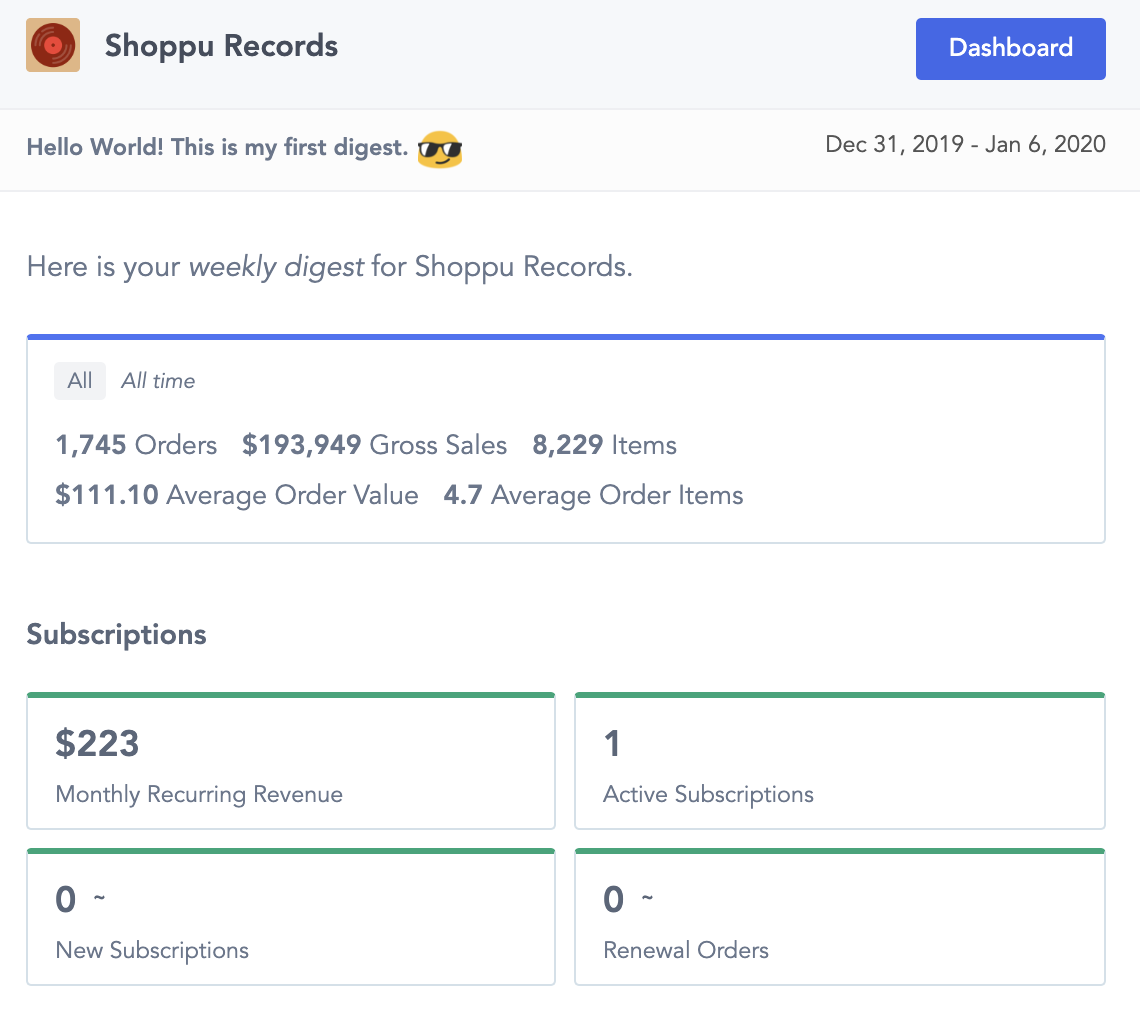
And in this case, when Monday 9am comes around, we will be greeted with our new custom digest in our inbox:
Editing an existing Digest
Sometimes after activating a Digest, you may want to make changes to the frequency it is sent, which Team members or other emails receive the Digest, the layout or even add new information to a Digest.
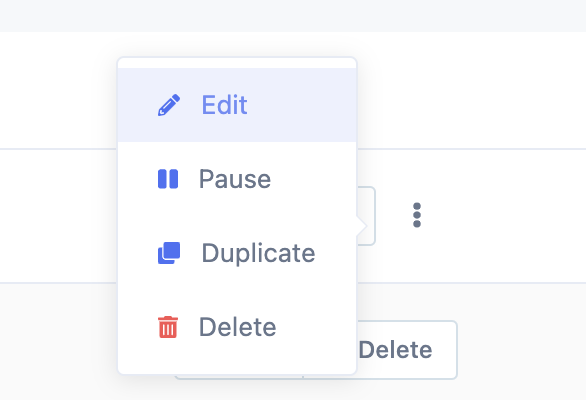
This can easily be done from the main Digests page and then selecting the specific Digest under the Action column by clicking the 3 vertical dots on the right.
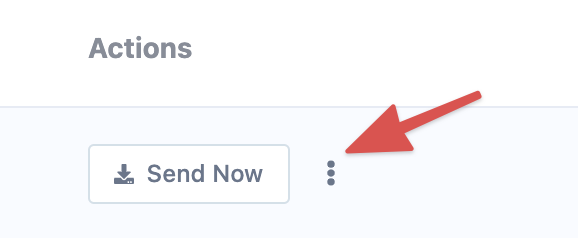
And then selecting the Edit option.
From there you'll be able to make the required changes and once they are saved, the new changes will take effect.