Building a Broadcast
When you click the New Broadcast button, you'll be taken to the broadcast builder. There are 5 steps to creating and sending your broadcast.
Creating a Broadcast
Name & Resource
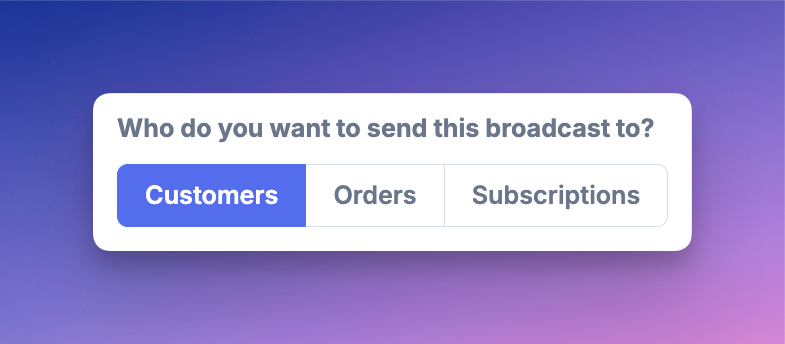
Resource: You can choose Customers, Orders, or Subscriptions (if you use WooCommerce Subscriptions). The one you choose depends on who (and how) you want to email the audience.
Name: Give the broadcast a name for you to reference it by. Customers will not see this, just you.
Campaign (Optional): You can assign the Broadcast to a new or existing Campaign. A Campaign is simply a group of Broadcasts to keep things organised and see reporting based on all Broadcasts in the group.
Description (Optional): You can add a longer description that will show in the Metorik dashboard and help you remember what the broadcast was for. This won't display to customers.
Define your Audience
In this step, you can use Metorik's segmenting system to define the audience for the broadcast (who will receive the email). That is, what rules a Customer, Order or Subscription should meet in order for it to receive the broadcast email.
As soon as a Customer, Order or Subscription meets the defined rules, they'll get the email.
To create the rules, you'll use Metorik's powerful segmenting system. If you're not familiar with it, we recommend having a read of this guide: Metorik's Segmenting System
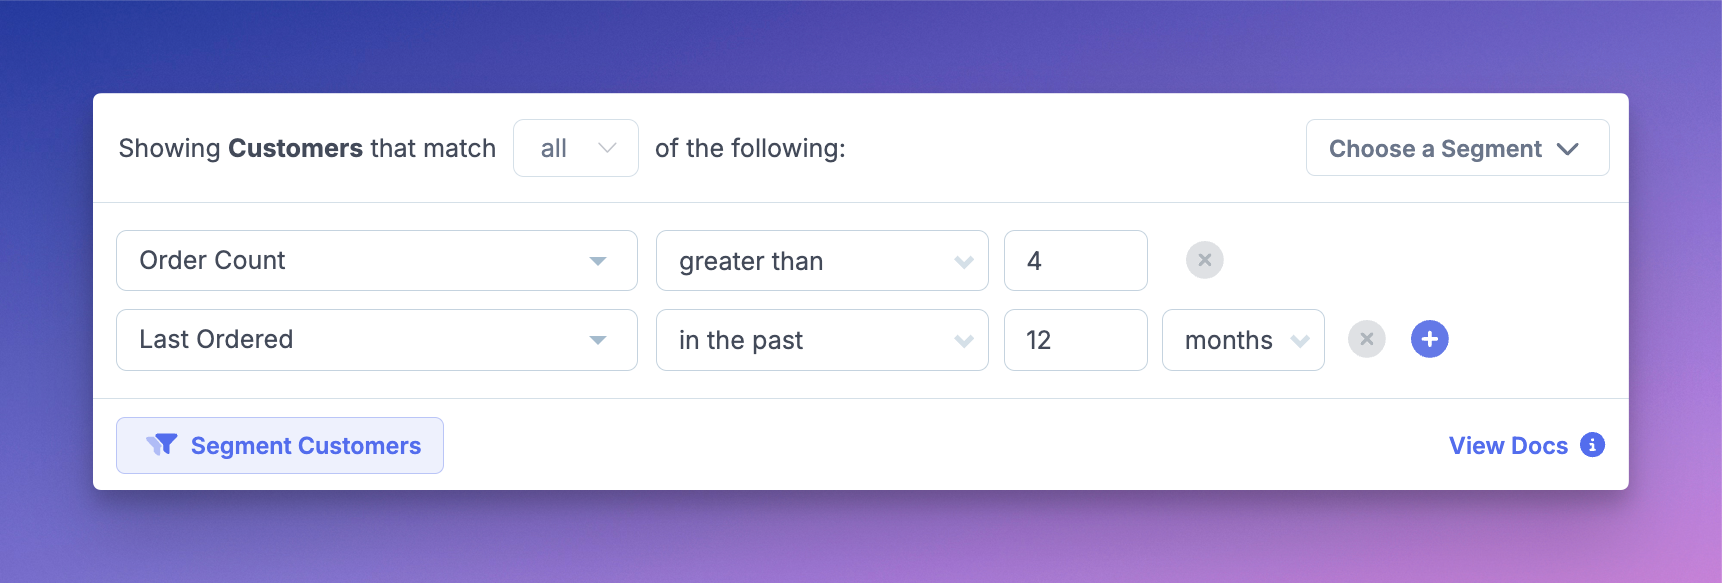
Once you've added your filters, click the "Segment Customers" button to get a preview of the audience and ensure the email audience is as you had envisaged.
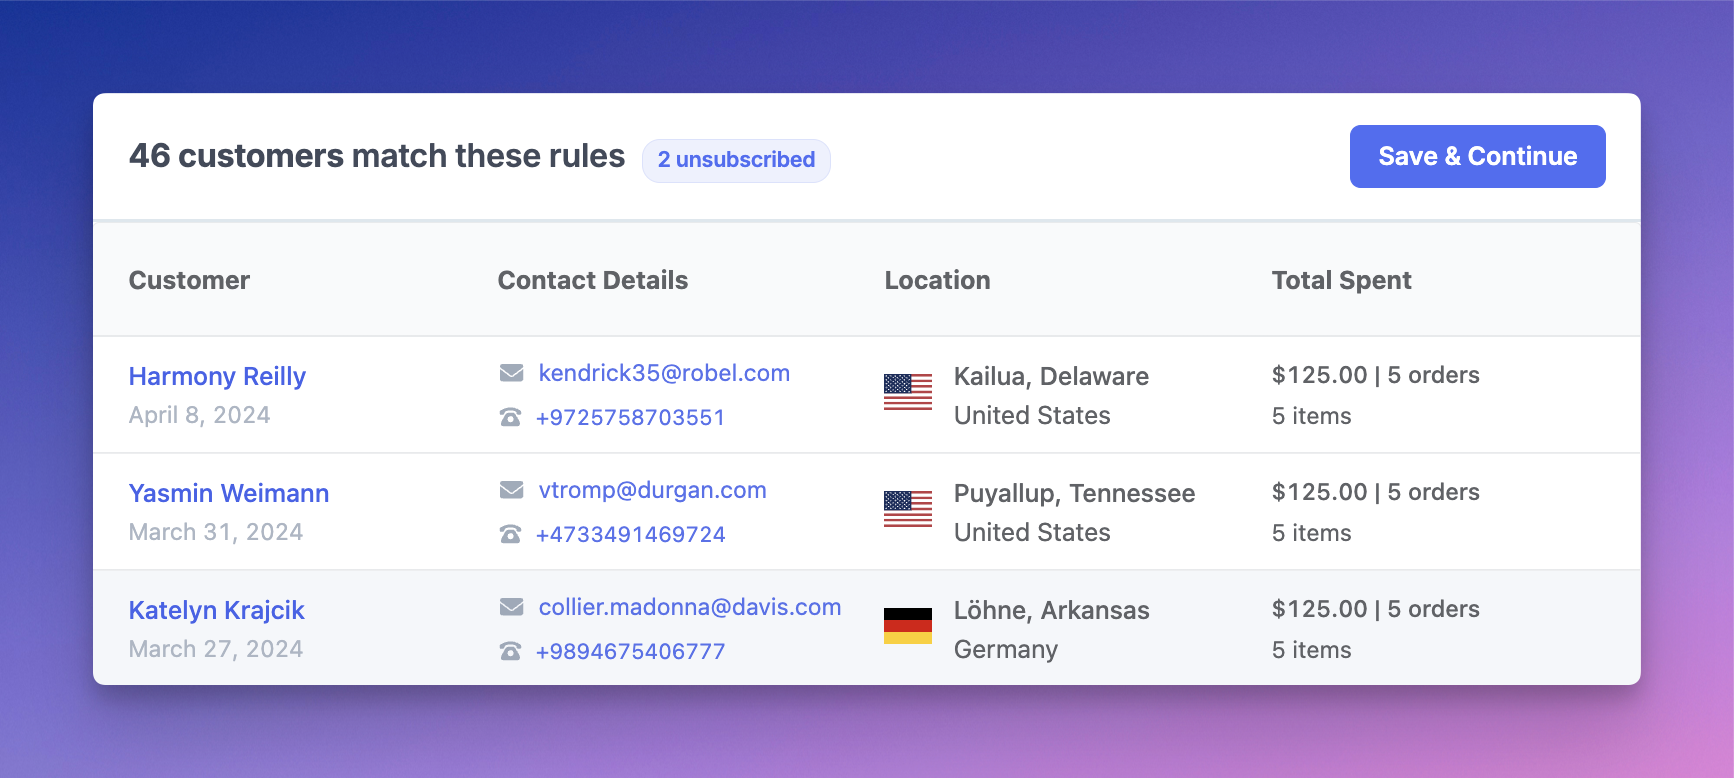
If you're happy with the audience preview, click the "Save & Continue" button to proceed to the next step.
Create your Message
First we setup the basics, like your email, subject and preview text.
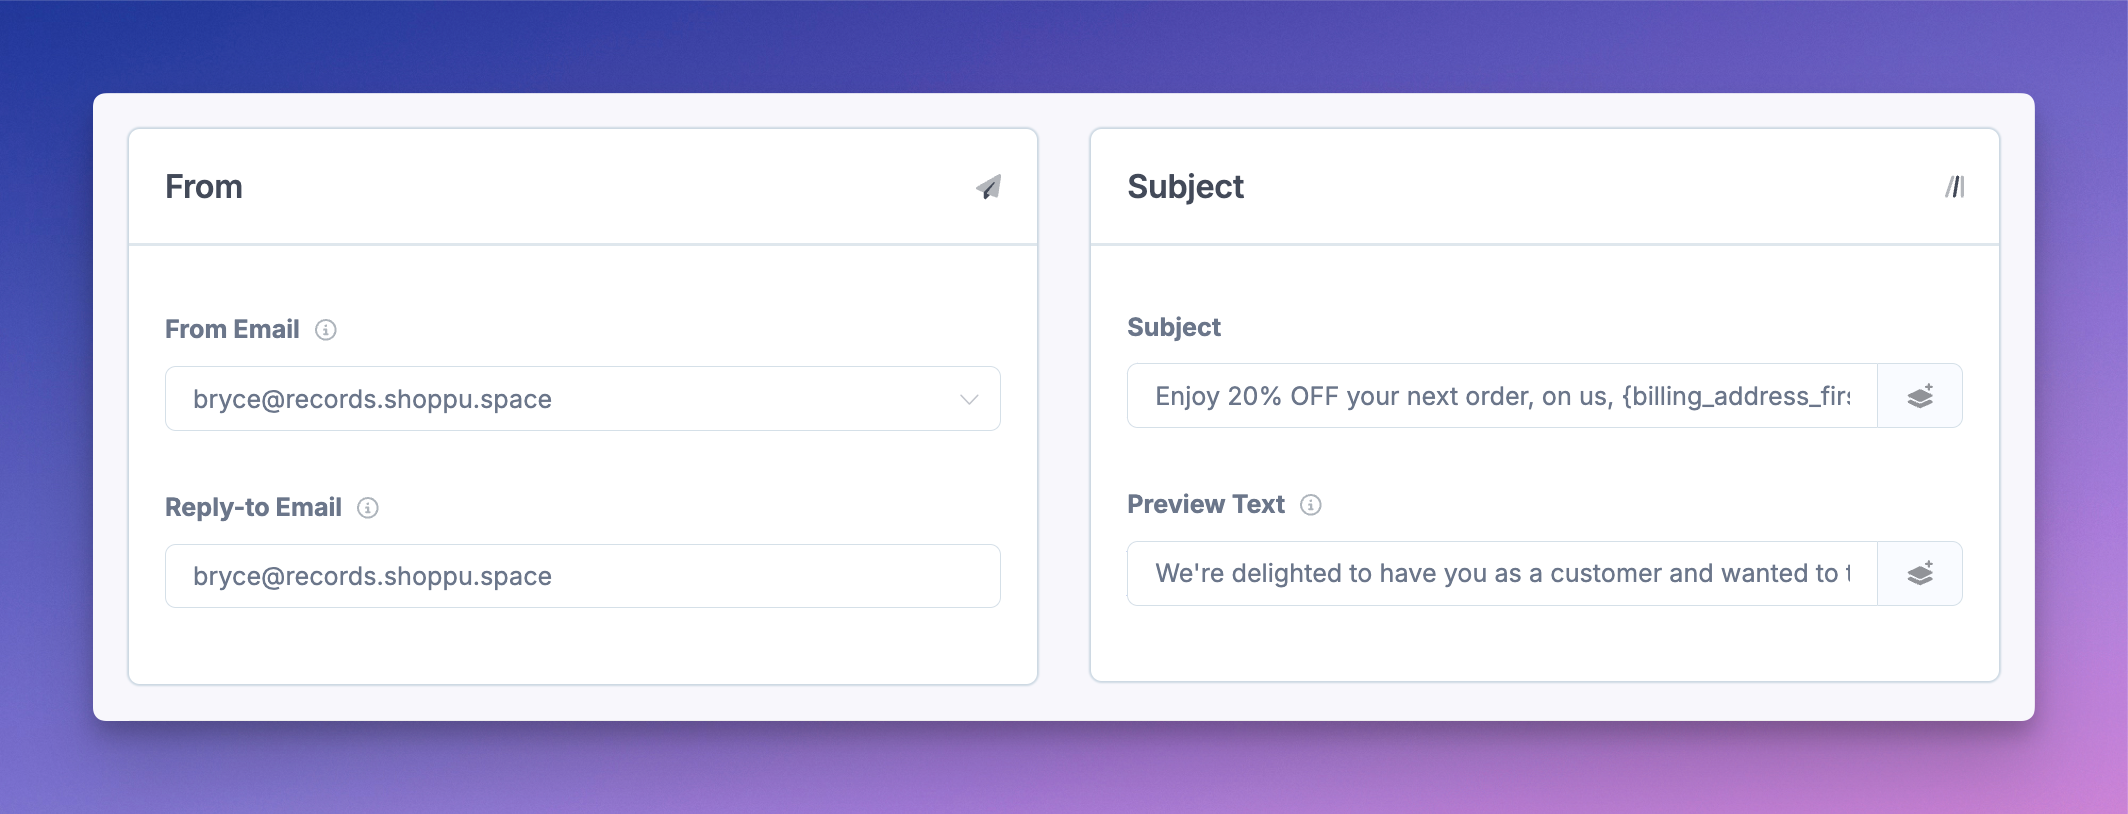
From Email: Where emails should be sent from. If you've verified your domain during the Engage setup, you can easily send from any email on your domain. If not, you'll receive an email asking you to verify the new address before you can send from it.
Reply-to Email: When customers click the reply button, where should their replies go? You may want to set this to be a different address, like a help/support email, so you can receive email replies.
Subject: The subject of the email (customers will see this). You can use variables here to give the subject a bit of personalisation, like including the order number, or the customer name. Just click the icon on the right to see a list of the available variables.
Preview Text: This is the text that appears under the subject line when you're previewing emails in your email application. Preview Text doesn't always show, so make sure not to hide anything super important in there.
Creating the email
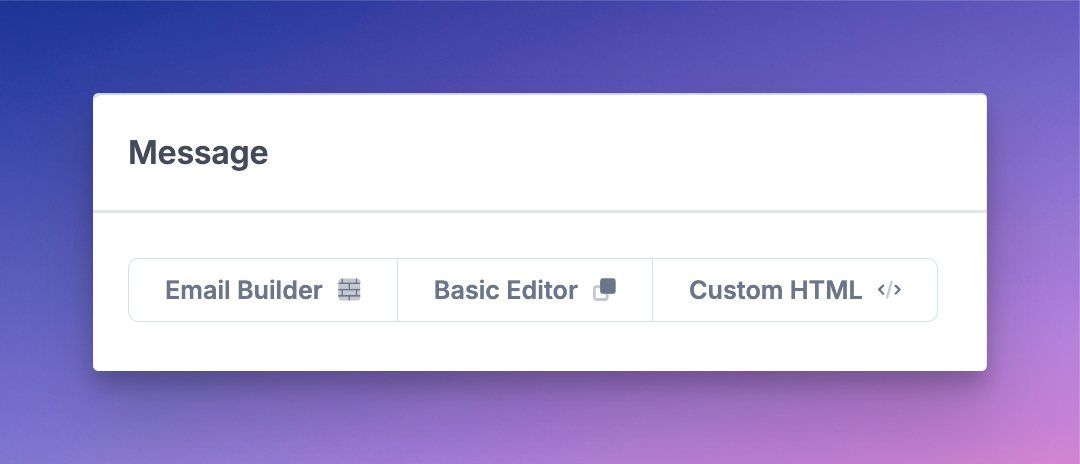
There are three options for creating your Broadcast email:
Email Builder is our visual drag-and-drop style email editor. You'll use this in most situations.
Basic Editor is a simple text-focused composer with limited layout capabilities.
Custom HTML allows you to add your own custom HTML email that you've built elsewhere.
Using the Email Builder
If this is your first Broadcast or email sent using Engage, we recommend creating your "email template" over in the Designs section of Engage first. You'll then be able to reuse this design across multiple future emails.
After clicking the "Email Builder" button, you'll be presented with a range of designs to get you started. You can select one of the existing designs, or click the "Start Fresh" button to create your email from a blank canvas.
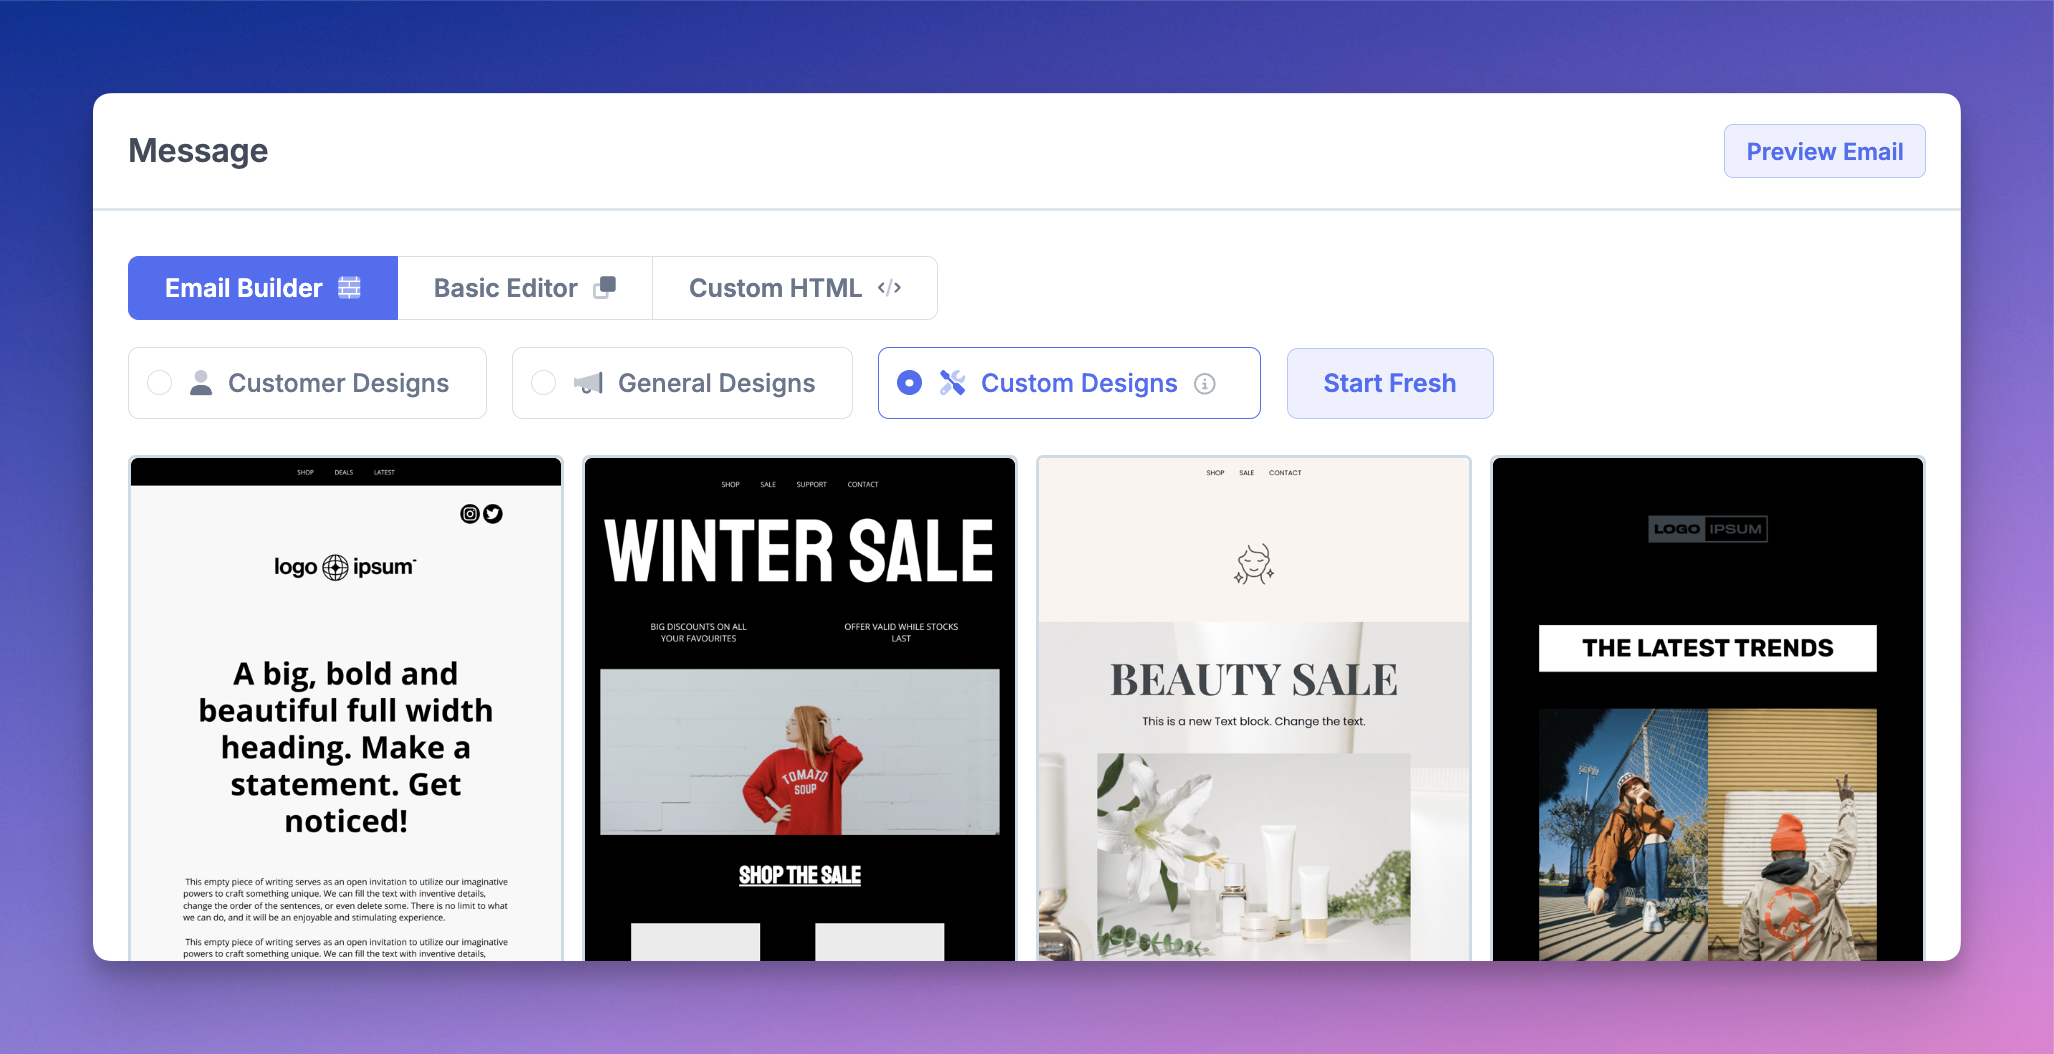
In this example we'll "Start Fresh" to create our email from scratch:
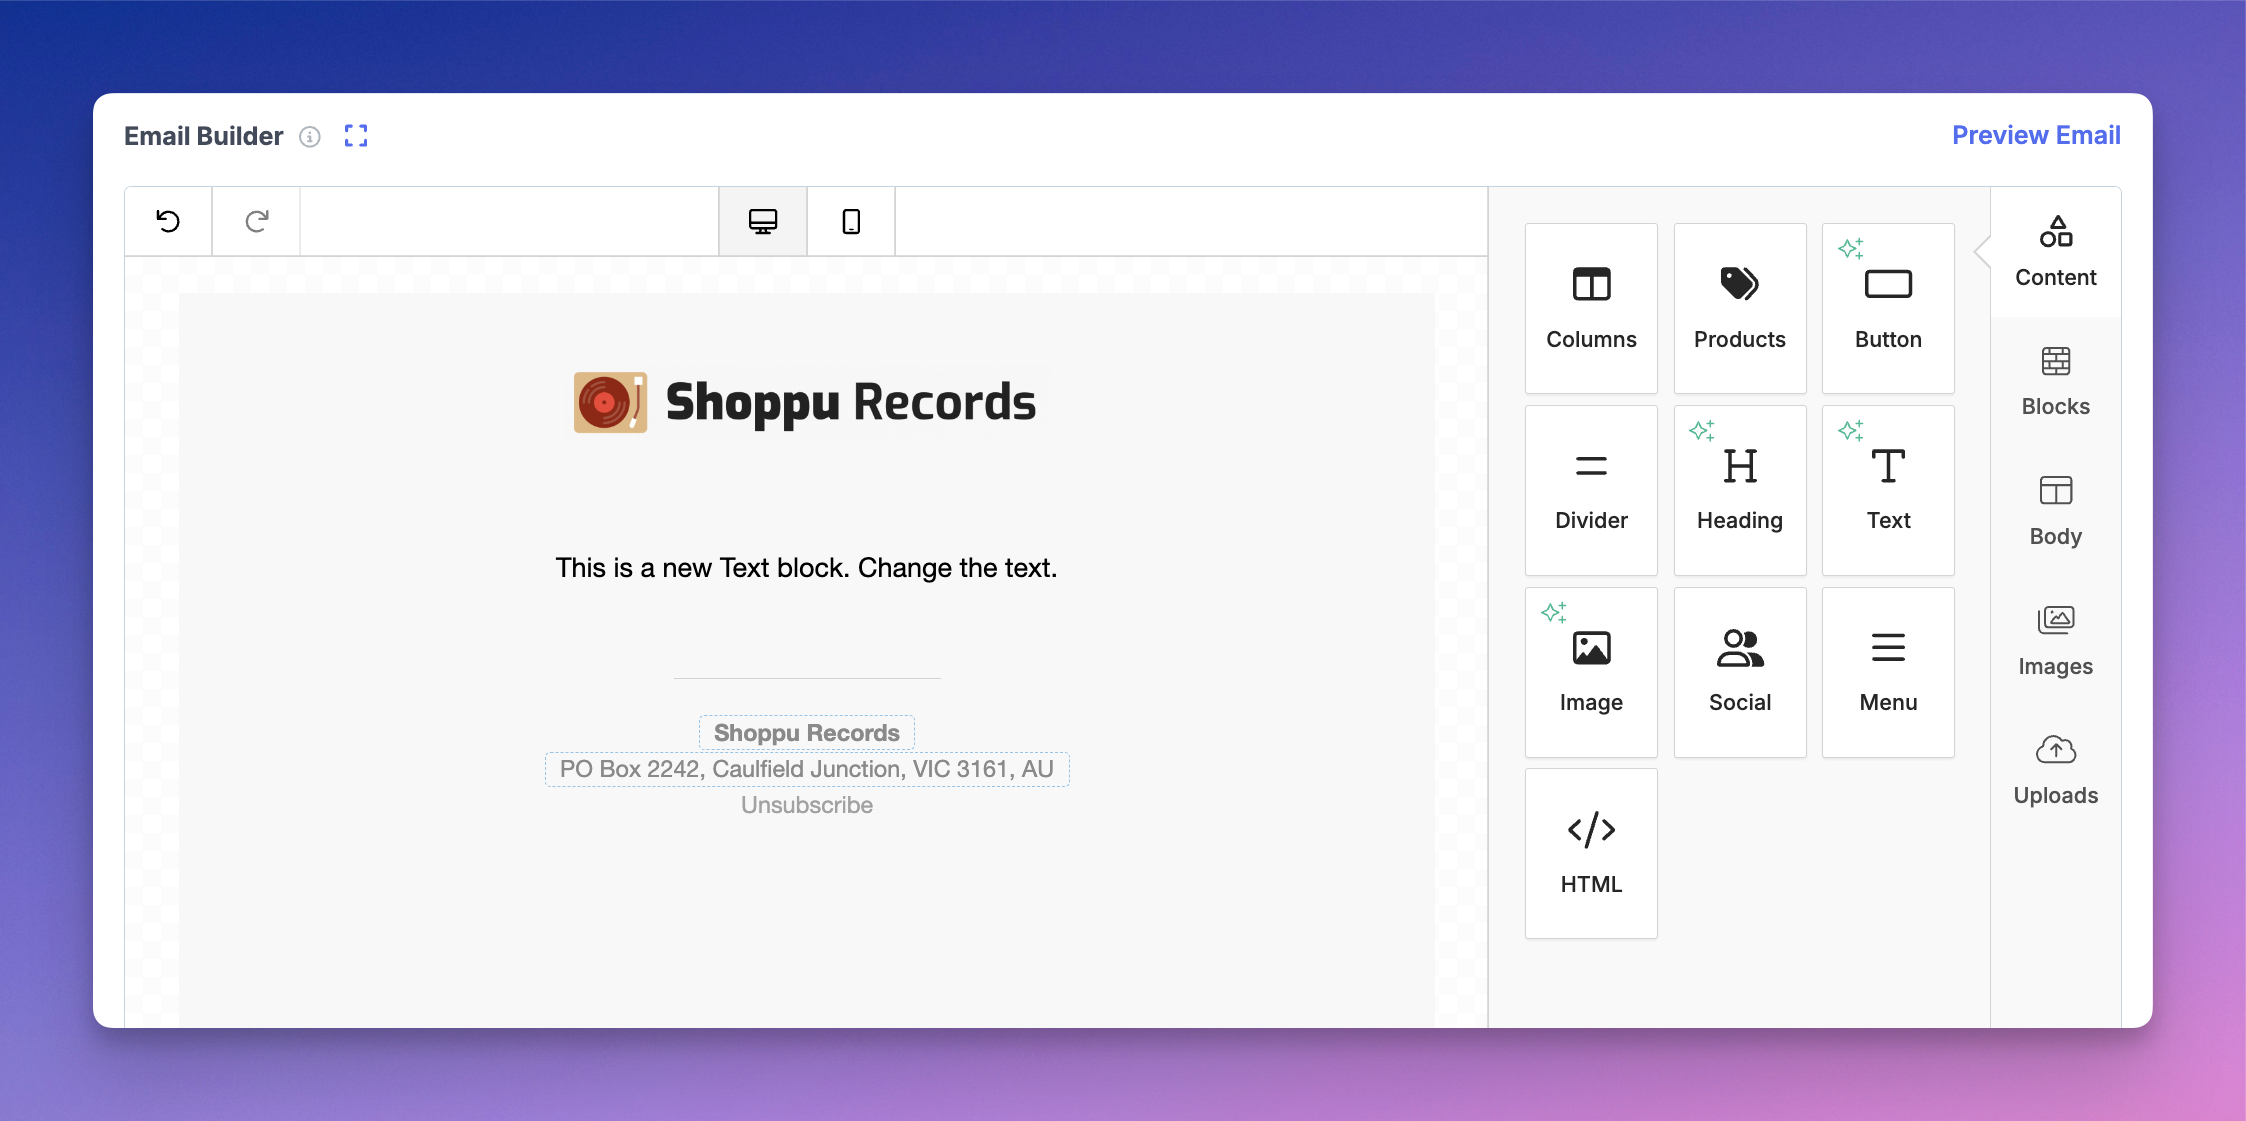
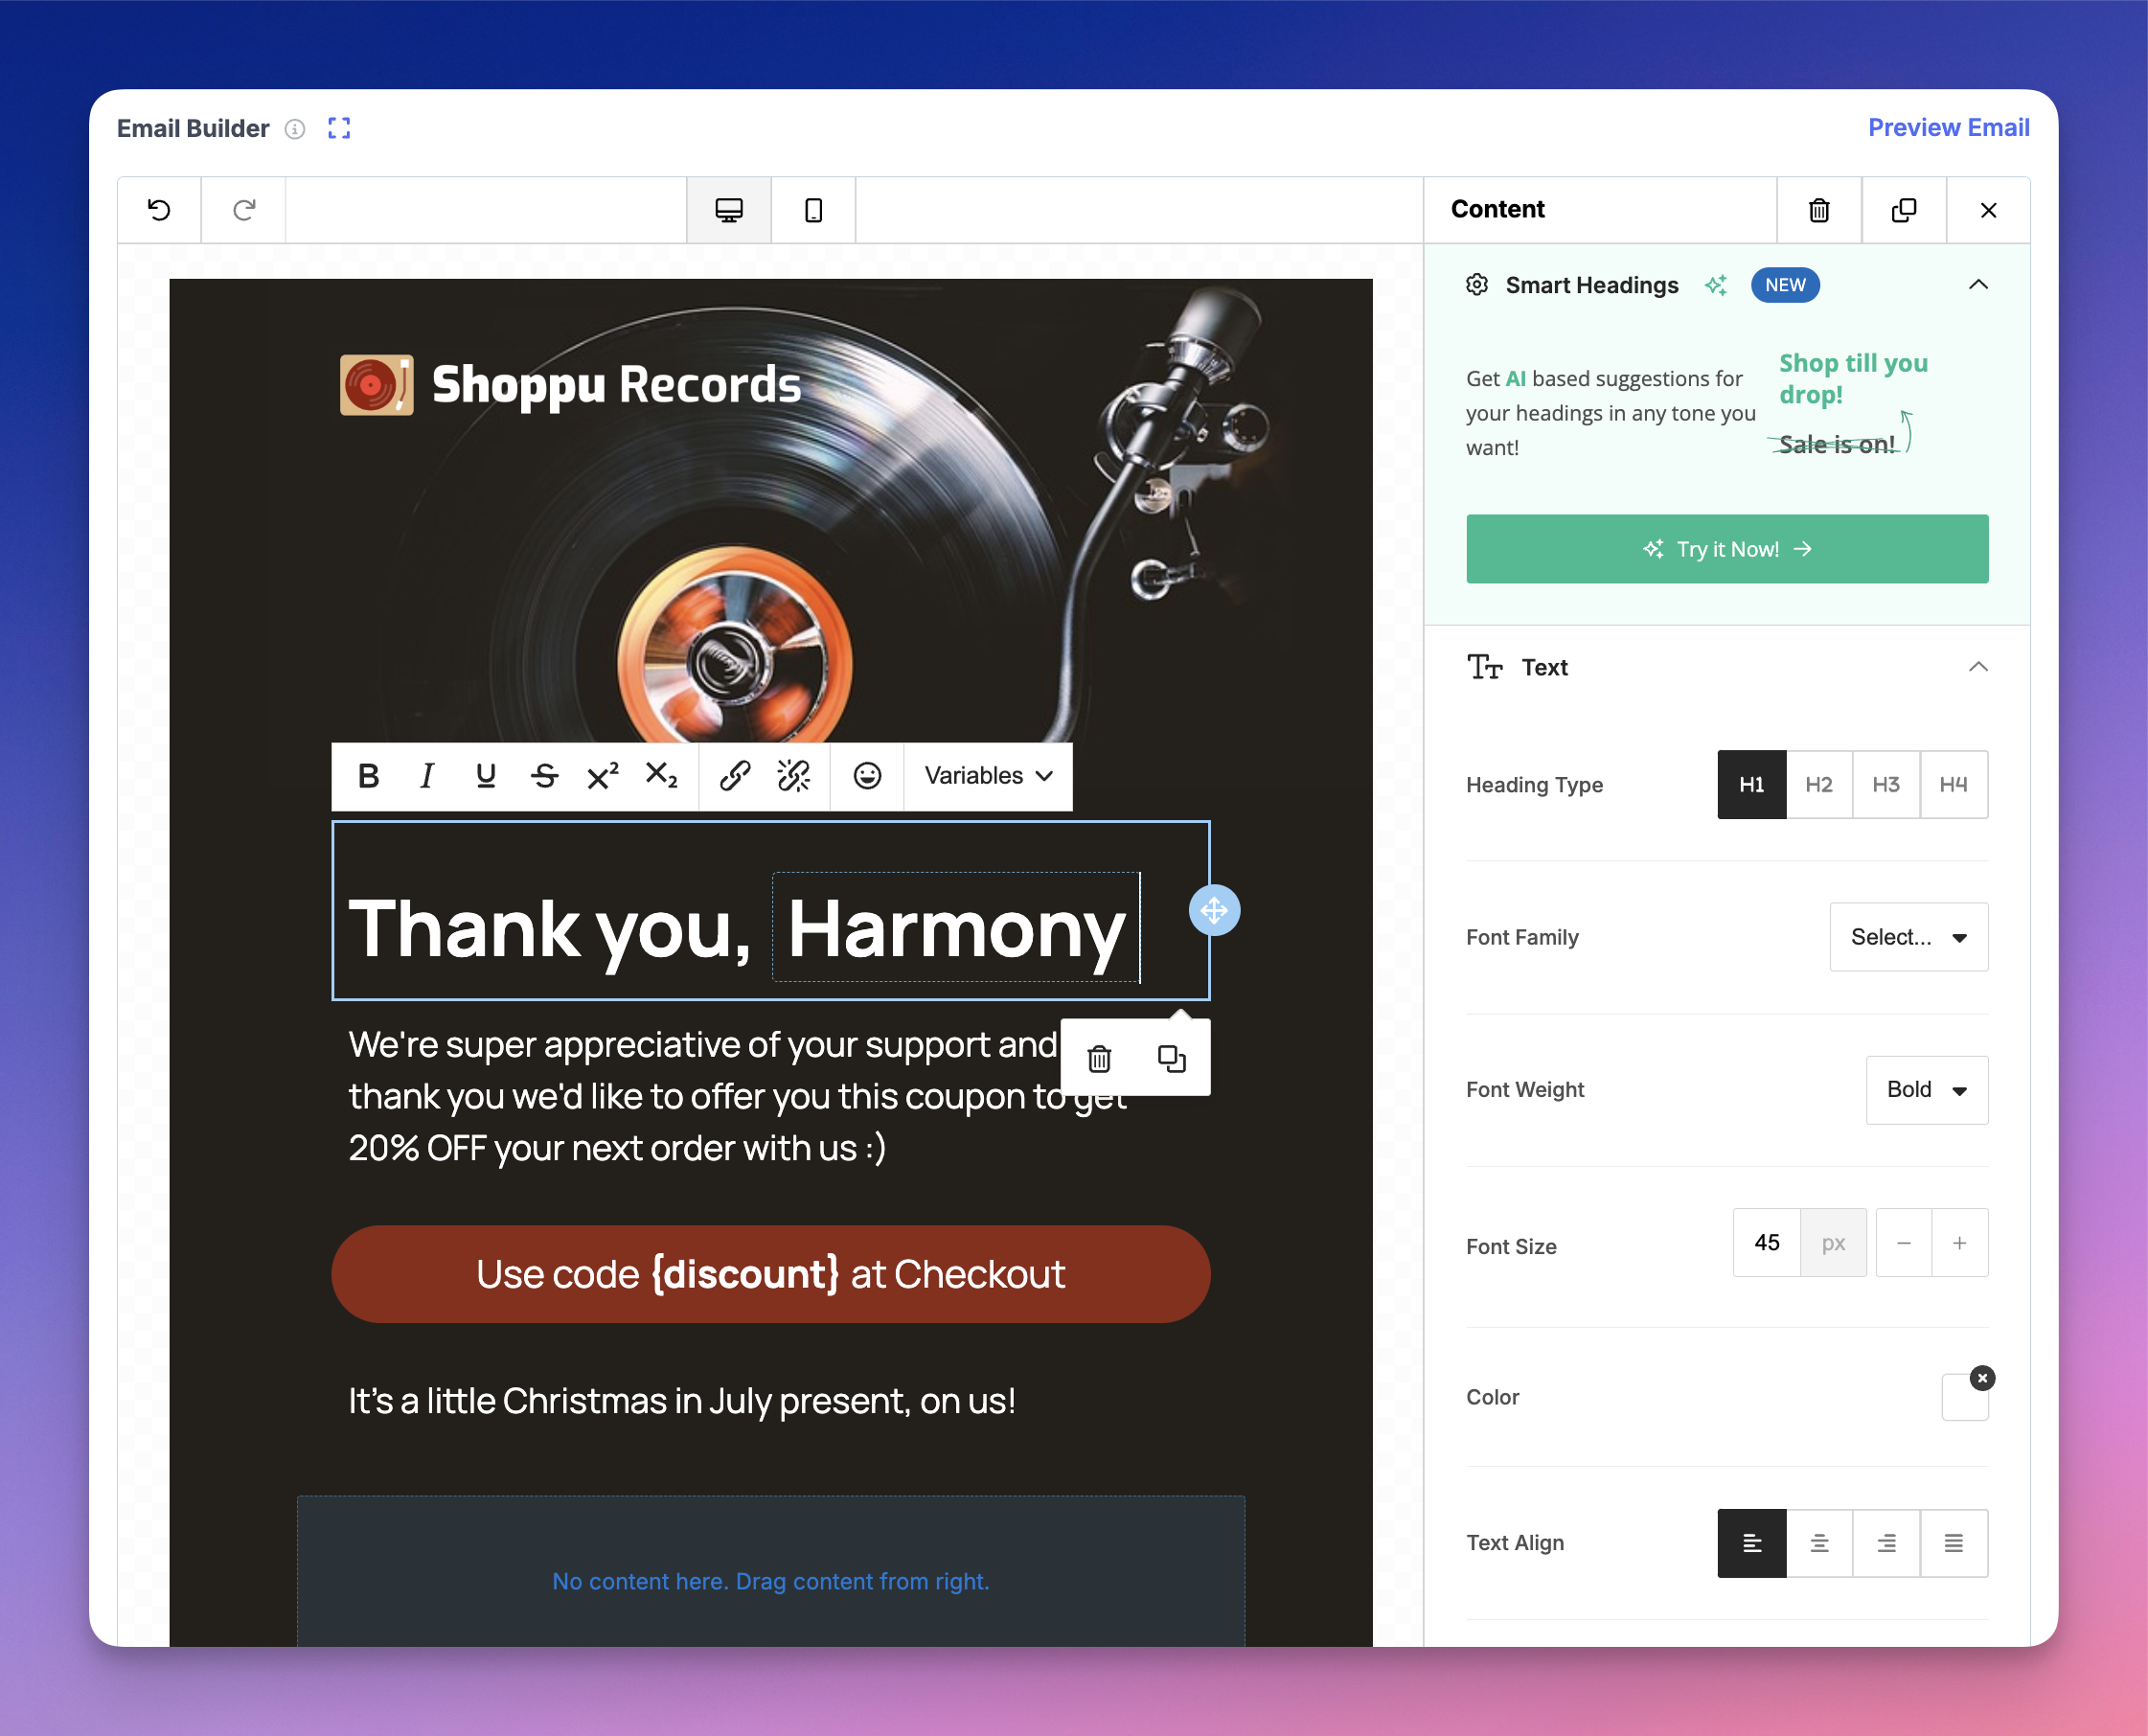
The Email Builder interface is broken into a few key sections:
Email window – on the left you have a panel where you can edit the email, drag and drop sections. You can also toggle between the desktop and mobile versions of the email, and use the left and right arrows to undo or redo changes.
Sidebar – this consists of:
Content: click and drag these elements into the email window to build your email
Blocks: these are layout elements allowing you to create multiple column sections
Body: this is where you set the overall design and layout options for your email
Images: provides you with some free to use stock images
Uploads: is all your previously uploaded images
Using the blocks, text variables and some images, we've created our email:
Previewing your email
At any time if you want to preview what the email will look like, click the "Preview Email" button in the top right. From here, you can also email some tests to yourself or a team member to check how the email is received.
Other Settings
At the bottom of the email builder you'll find a few additional, optional settings:
Discount — You can choose to add a discount to the broadcast. Clicking the Add Discount button will open a dialog where you can configure the discount amount and restrictions. For more info, see the Engage Discounts Guide.

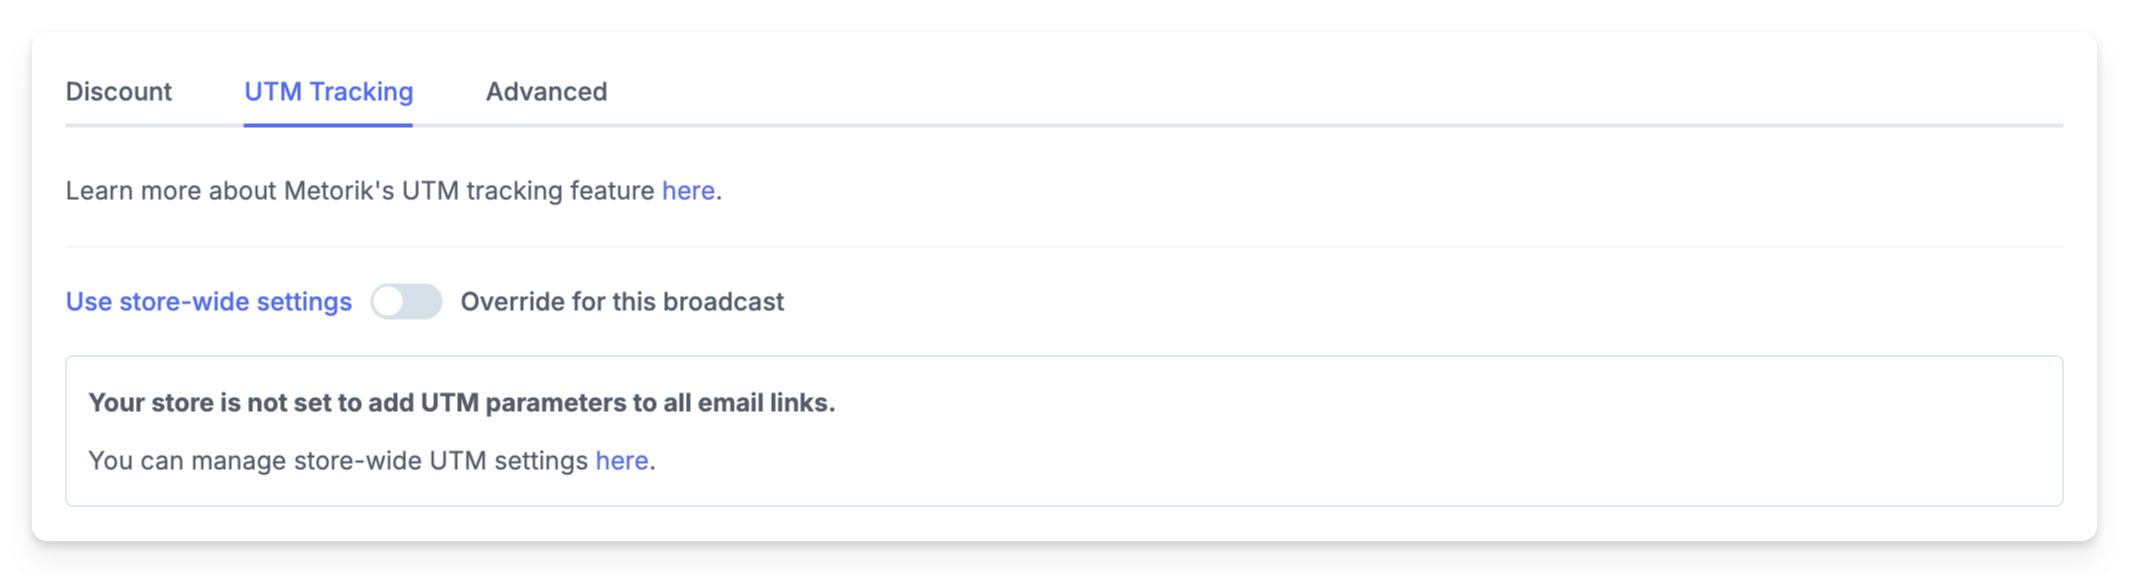
UTM Tracking — Choose to add or remove Metorik's automatic UTM tracking feature. Learn more about Metorik's UTM Tracking.
Advanced — Set the language/locale for this email, or add a BCC address for every email sent.
Schedule or Send
Now it's time to send (or schedule) the Broadcast! 🎉
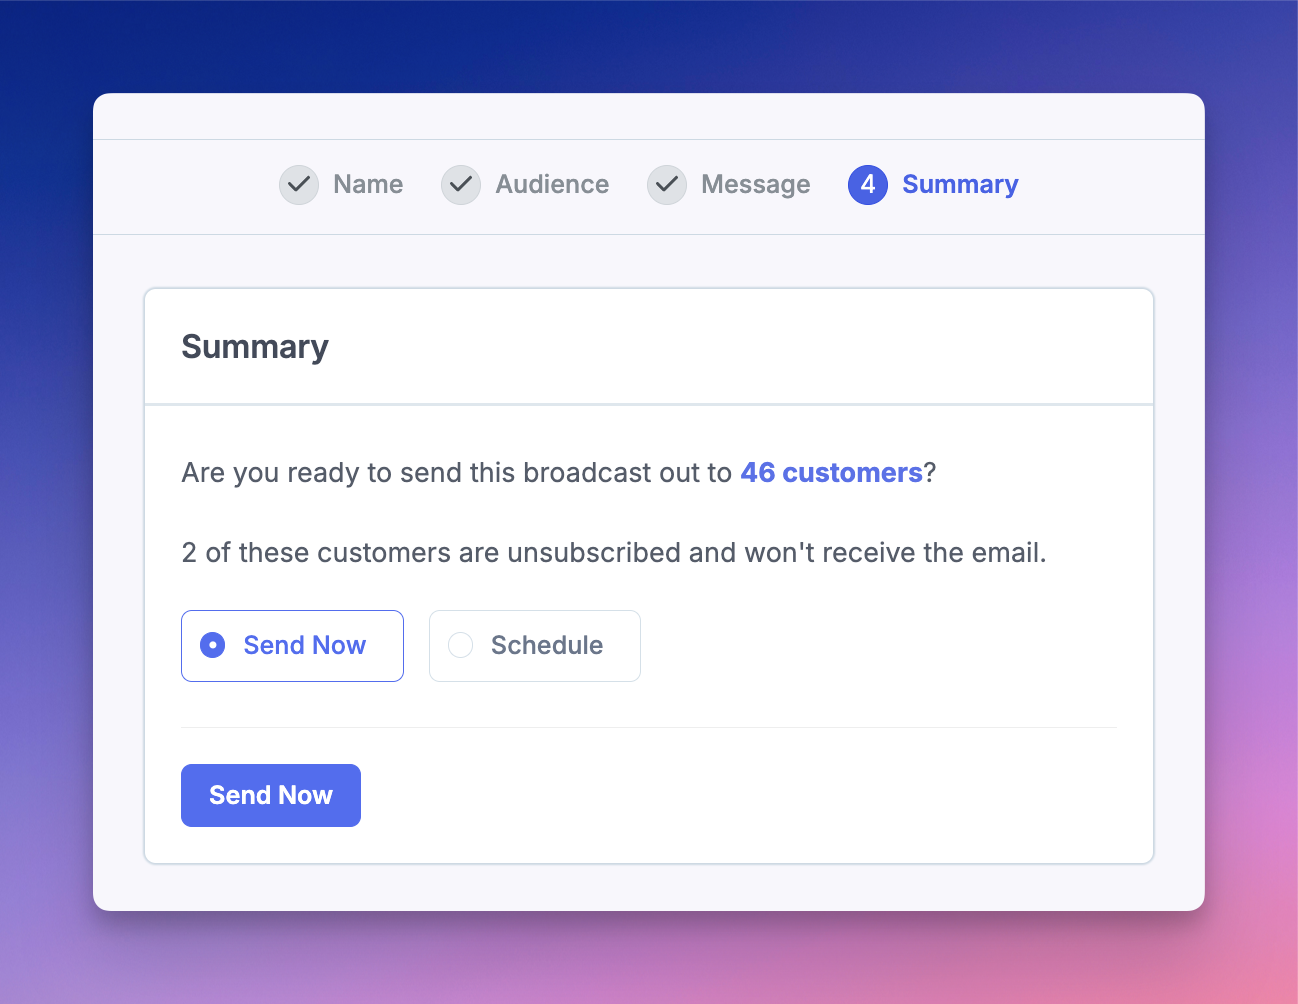
You have two options:
Send Now – This will send the email straight away. Please note that for large email sends, emails will be sent out in batches to help reduce the possibility of email clients such as Gmail flagging the email as spam.
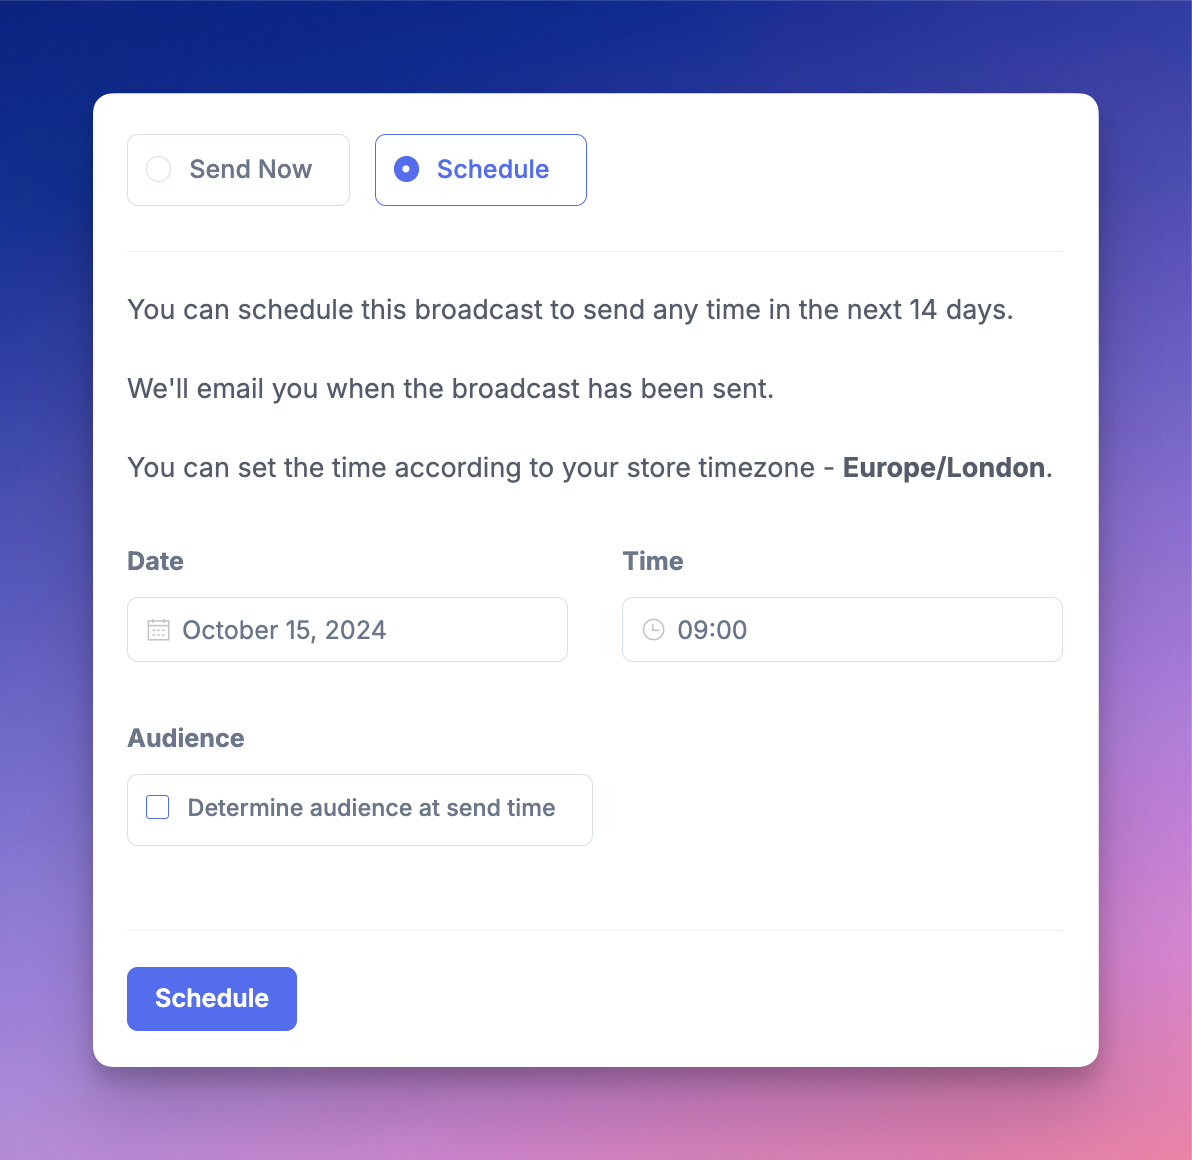
Schedule – Select a date and time you'd like the email to be sent out. You can choose to lock-in the audience now (default), or by checking the "Determine the audience at send time" box, your email's audience will be determined at the scheduled send time, and as a result, may differ to the audience preview shown in Step 2.
If needed, you can cancel a scheduled broadcast by accessing the broadcast's stat page:

That's it! 🎉
You've created your first Broadcast. Nice work! If you have any questions about the process, please feel free to reach out using the live chat feature, or the contact us button below.