Engage Guide: Your First Automations
After setting up Engage and learning how to build automations, you may find yourself wondering - now what? Well, since Engage features a template system, it shouldn't be too hard to get started using it.
In this guide, we're going to talk about the first automations you should be creating with Engage.
In this article
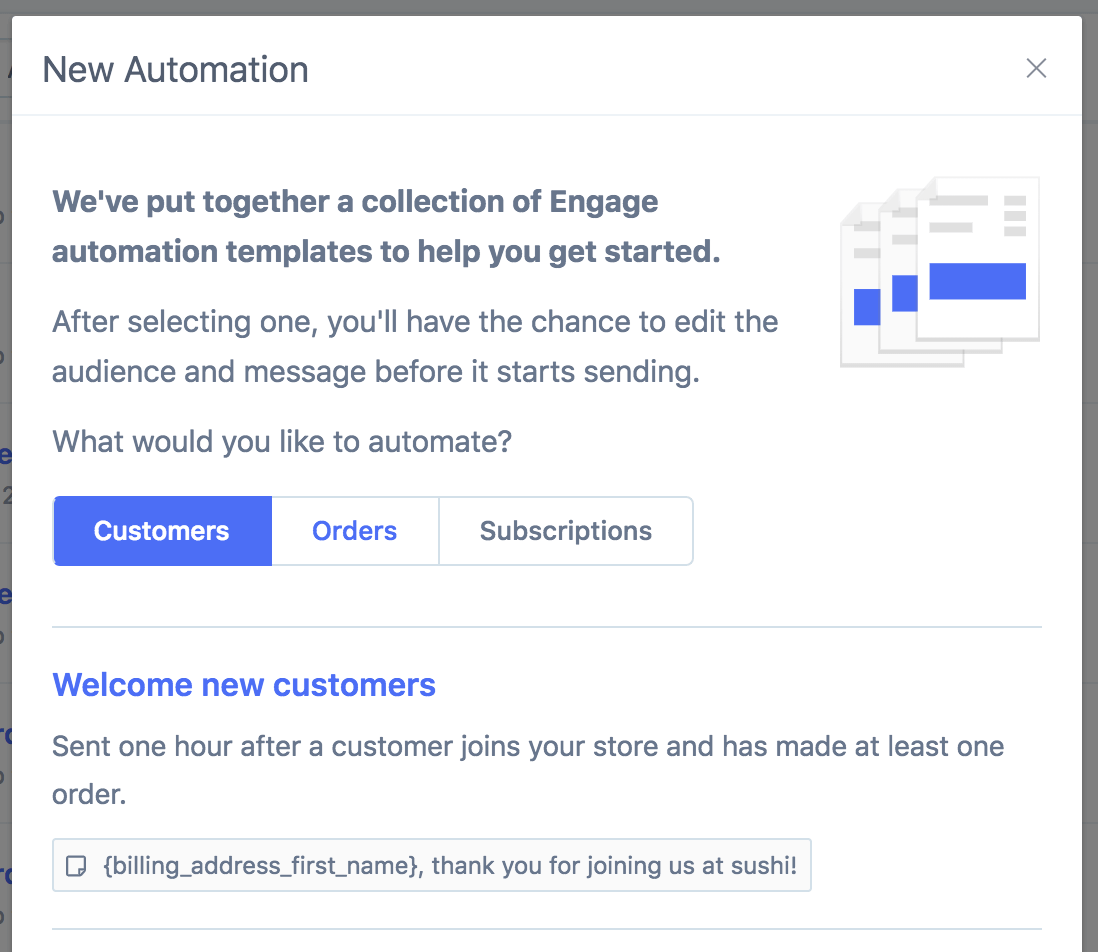
New automation
All of these can be created from a template, so you'll be able to start sending them immediately. To create an automation from a template, just head to the Engage automations page and click the New Automation button. You can then choose From Template in the popup:
The welcome email
Perhaps one of the most universal and successful emails you'll ever send is the welcome email.
With Engage, this is easy to do. We'll create a customers automation email that sends to customers 1 hour after they've joined your store and made one order. Select the Welcome new customers template to create this one:
After choosing the template, you can go through the automation's settings, choose from different designs with the email builder and change the message sent and add on any other rules (eg. just email customers who bought a certain product or category). Try to make the message as personal as possible! Invite your customers to reply to the email with any questions or concerns they have, and consider asking them how they found your store.
Once you're happy with the automation, activate it and emails will start sending for new customers immediately.
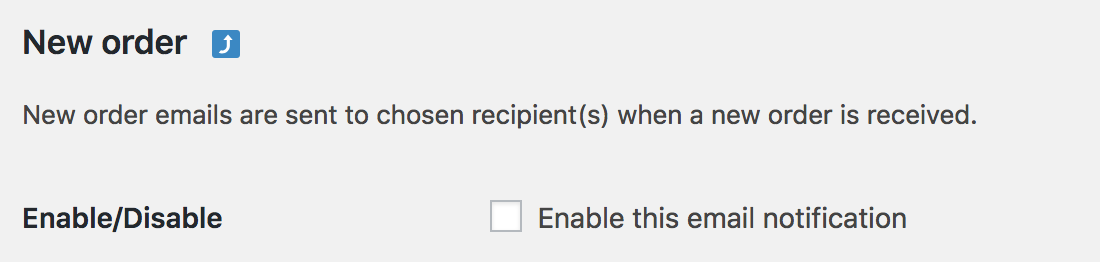
New order emails in WooCommerce
WooCommerce is likely already sending the new order emails to customers already. Customers typically get 2 emails automatically from WooCommerce:
The processing order email - sent after a new order is made with the order details, letting the customer know that the order is now being processed.
The completed order email - sent when an order is marked completed (and has been sent to the customer).
If you want to have more control over these emails, and importantly, more stats for them (what % of customers are opening them? Did customers order again after getting the email?), you may want to send these through Metorik Engage.
To send them through Engage, again, we'll start from a template. This time, select Orders in the template selection box:
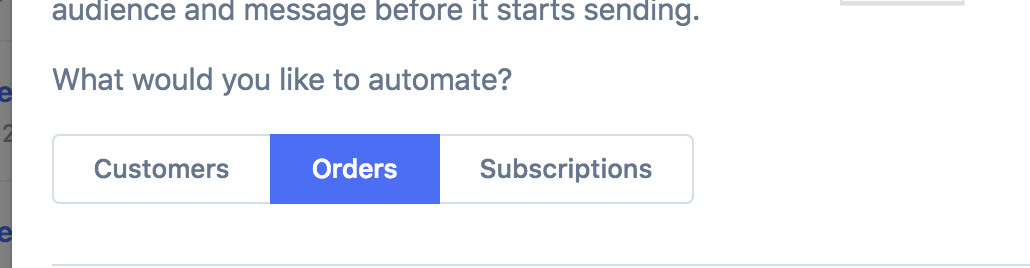
Scroll down a bit and you'll find the two templates we'll use:
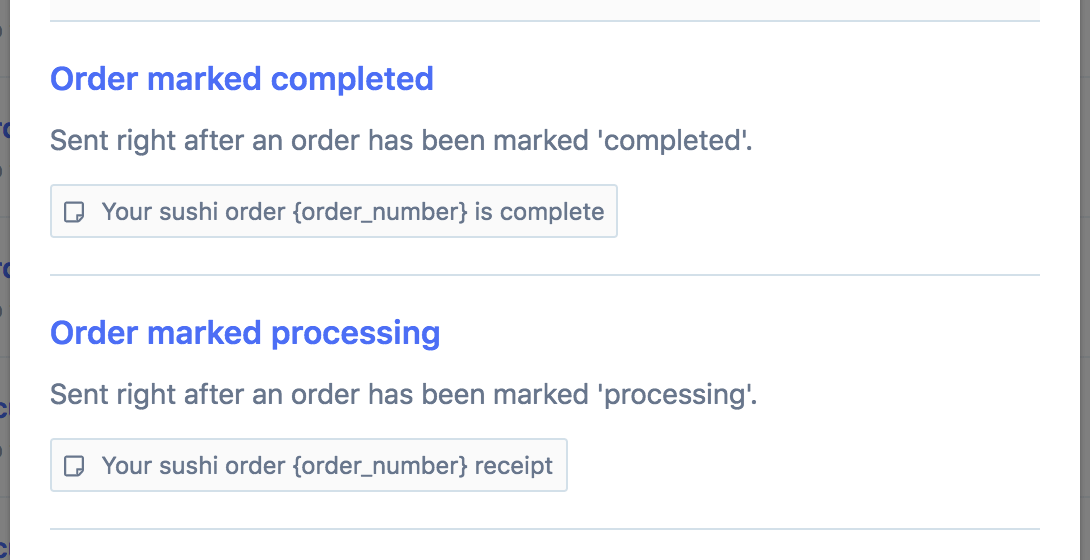
First, create the processing email that gets sent after a new order comes in and has the 'processing' status. Again, feel free to change the message that gets sent to customers so you can make it more personal.
Once you're happy with the processing email, activate it so it will start sending for new orders.
Next, do the same for the completed email. This time, you may want to adjust the message sent so it includes a dynamic unique coupon code for the customer to use on their next order. Once you're happy with it, activate it also.
Don't forget to disable these emails in the WooCommerce Email settings, so they're only coming from Metorik. You can do this in your WooCommerce admin under WooCommerce > Settings > Emails, and then click on each email you want to disable. You can then disable the email like so:
New order emails in Shopify
Unfortunately, Shopify doesn't let you disable the order confirmation email; as such, you will need to keep sending this through Shopify. We would recommend editing the template to include a minimal amount of information — and then sending follow up emails via Engage. For example, perhaps you might want to send an email containing some information about the product in the order — this can be sent through Engage.
Abandoned cart emails
We've focused so much on interacting with customers after they've ordered from us. What about the customers who haven't ordered yet? Who went to our site, added some items to their cart, but decided to leave before paying?
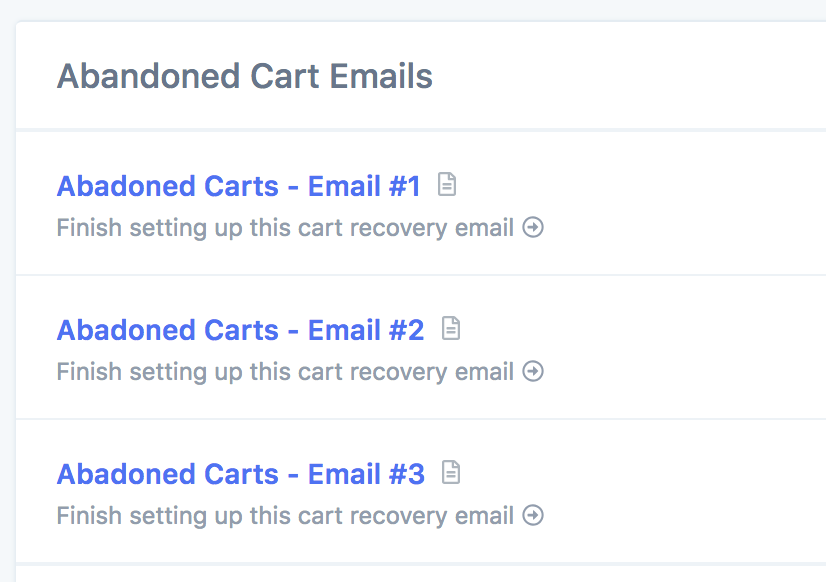
Recovering these abandoned carts are one of your best opportunities. And they're extremely easy to do through Metorik Engage, as not only does Metorik track all your carts, but lets you send automatic cart recovery emails too.
You can read more about setting these up in the Cart Recovery Emails guide. The good news is that it's very easy to do. Similar to the above, you can create a series of Cart Recovery Emails in one click.
Just head to the cart recovery emails area and click the Create button. It will create 3 recovery emails for you. You'll want to check each one and if you're happy with it, activate it. Depending on your needs, 1 email or 2 emails may be better, so don't feel pressured to activate all 3.
If you are using Shopify, you will need to make sure you turn off the default cart notification emails that Shopify send. To do this:
Head to Settings > Checkout.
Scroll down to the Abandoned checkouts section.
Make sure the Automatically send abandoned checkout emails box is unchecked.

This will definitely depend on your store, but feel free to click the New automation from template button again and see what templates we've got available.
We typically recommend setting up these emails (in addition to the above ones):
Completed order follow-up (email them a couple of weeks after their order was marked completed to check if they're happy with everything and perhaps offer a coupon code for their next order).
Lost customer email (email them eg. 6 months after their last order with a coupon code, so they return to make a new order).
Subscriptions (WooCommerce only)?
If you're using WooCommerce Subscriptions, there are countless more emails you should set up, like emailing customers before their next renewal, emailing them when their subscription ends, etc.