
Customising Engage emails with CSS
This document is for customising emails using our legacy email builder. We recommend using our new Engage email builder.
You can use CSS to customize your Engage emails/abandoned cart emails to better reflect your brand. In this doc we will go over how to:
Find the setting to add custom CSS.
Modify specific elements of an email using CSS.
Use the Chrome inspector to find class names & modify other email elements.
Build an email from scratch using HTML
1. Finding the setting
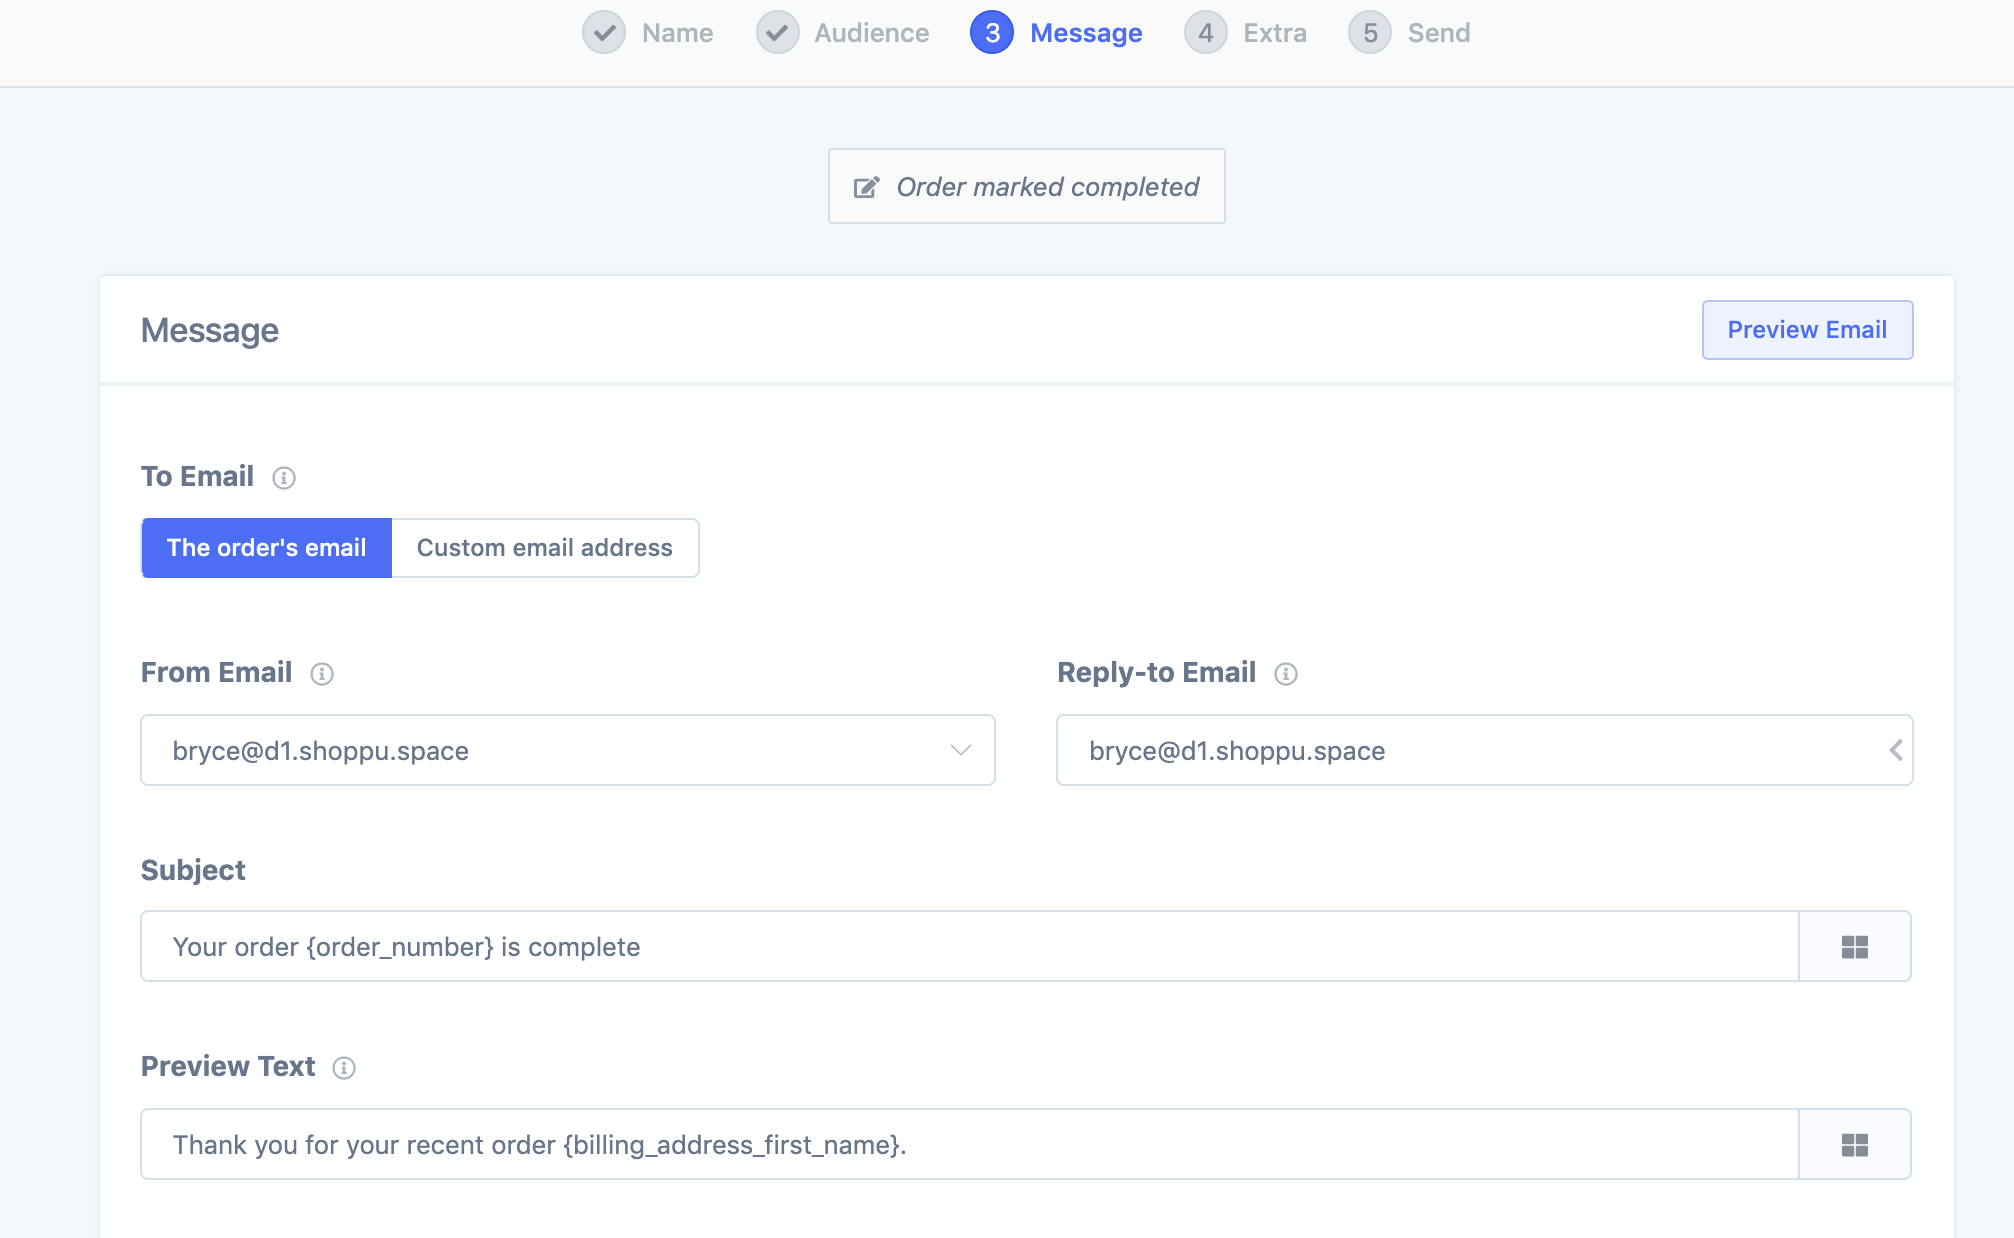
a. Head to the message tab of your Engage/cart email:
b. Scroll down and click the View Advanced Settings button:

c. You can add the custom CSS in the Custom CSS area:

Note: If you're using a custom email layout, make sure that you have the {email_custom_css} variable in your custom layout's styles/CSS area, so the Custom CSS setting works.
2. Modifying specific elements of an email
Some common elements you might want to modify are:
The colour of the header (area behind the logo).
Button positioning - two buttons together on the same line.
Header colour
You can target the colour of the header using:
.email-masthead {background-color: #______;}So, let's say we wanted to make the background colour white instead of grey. We just need to add the hex code of the colour into the code - the colour for white is #ffffff:
.email-masthead {background-color: #ffffff;}
Button positioning
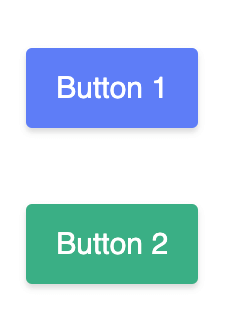
By default, new buttons will be put onto a new line:
If you want them to be displayed on the same line, you can apply the following code:
.button-wrapper {display: inline-block;}
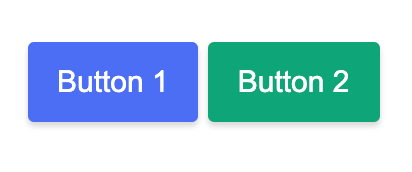
Our buttons are now on the same line:
Using the Chrome Inspector
Google Chrome has an inspector built into its developer tools for easily seeing the HTML and CSS of a webpage (Firefox and other browsers will also have this feature). Using the inspector, we can easily find the class names of any Engage email element, which we can use to customize the element (like we did above).
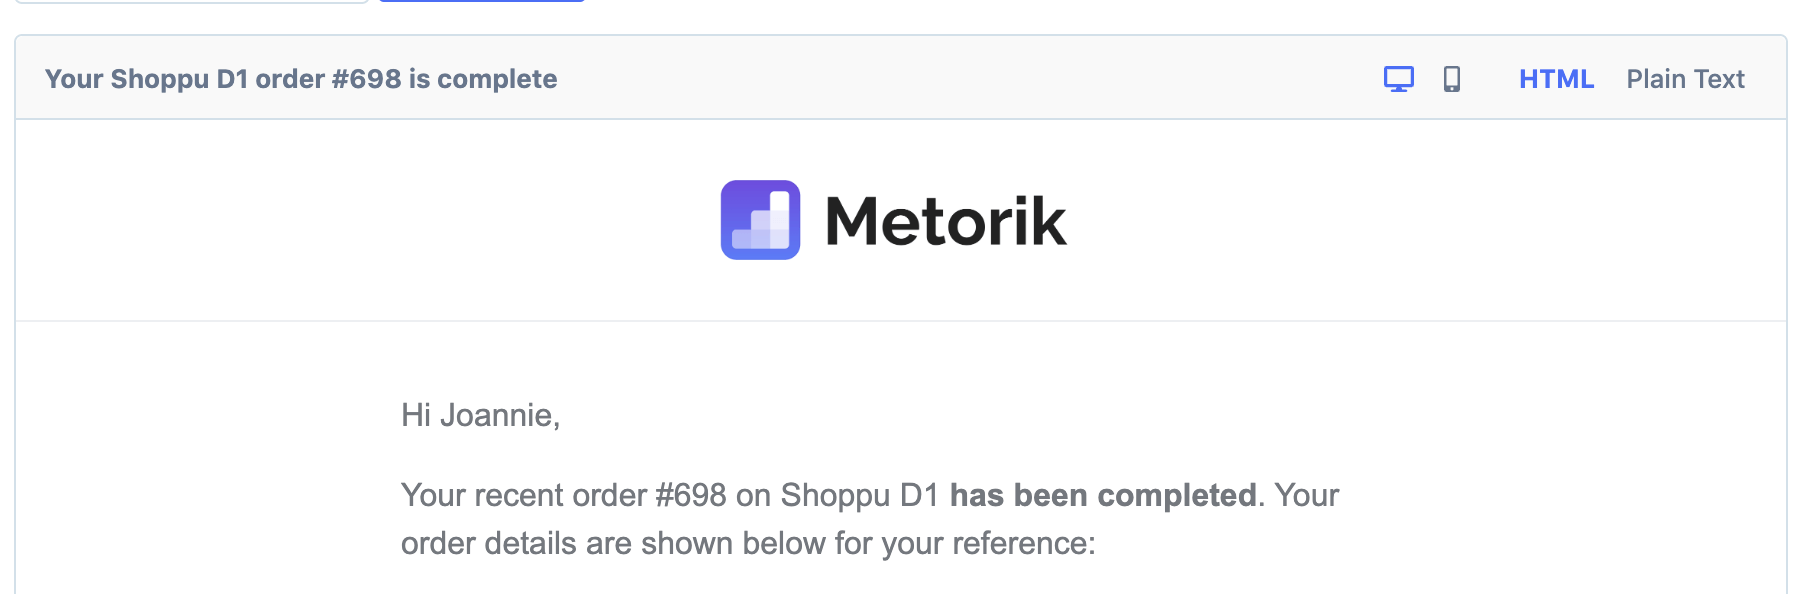
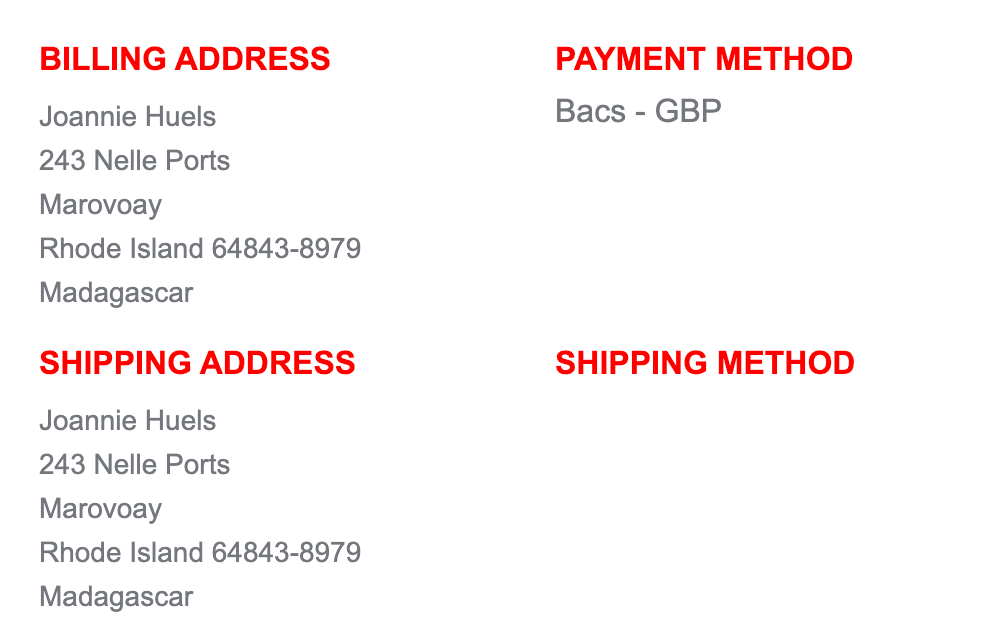
So for example, let's say we wanted to change the colour of all these headings:
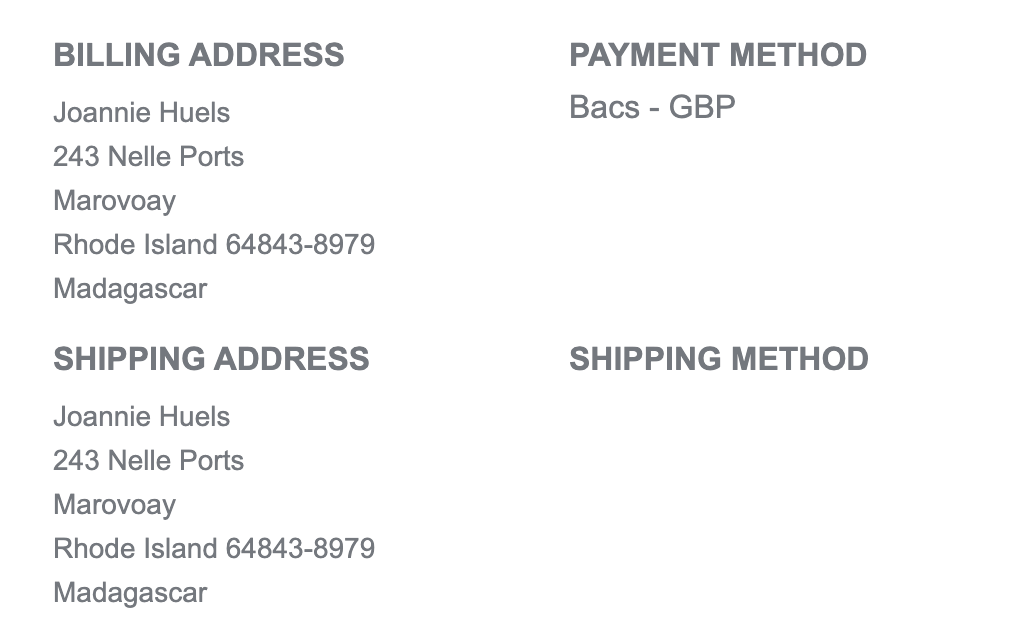
First, right-click on any of the headings and click inspect:
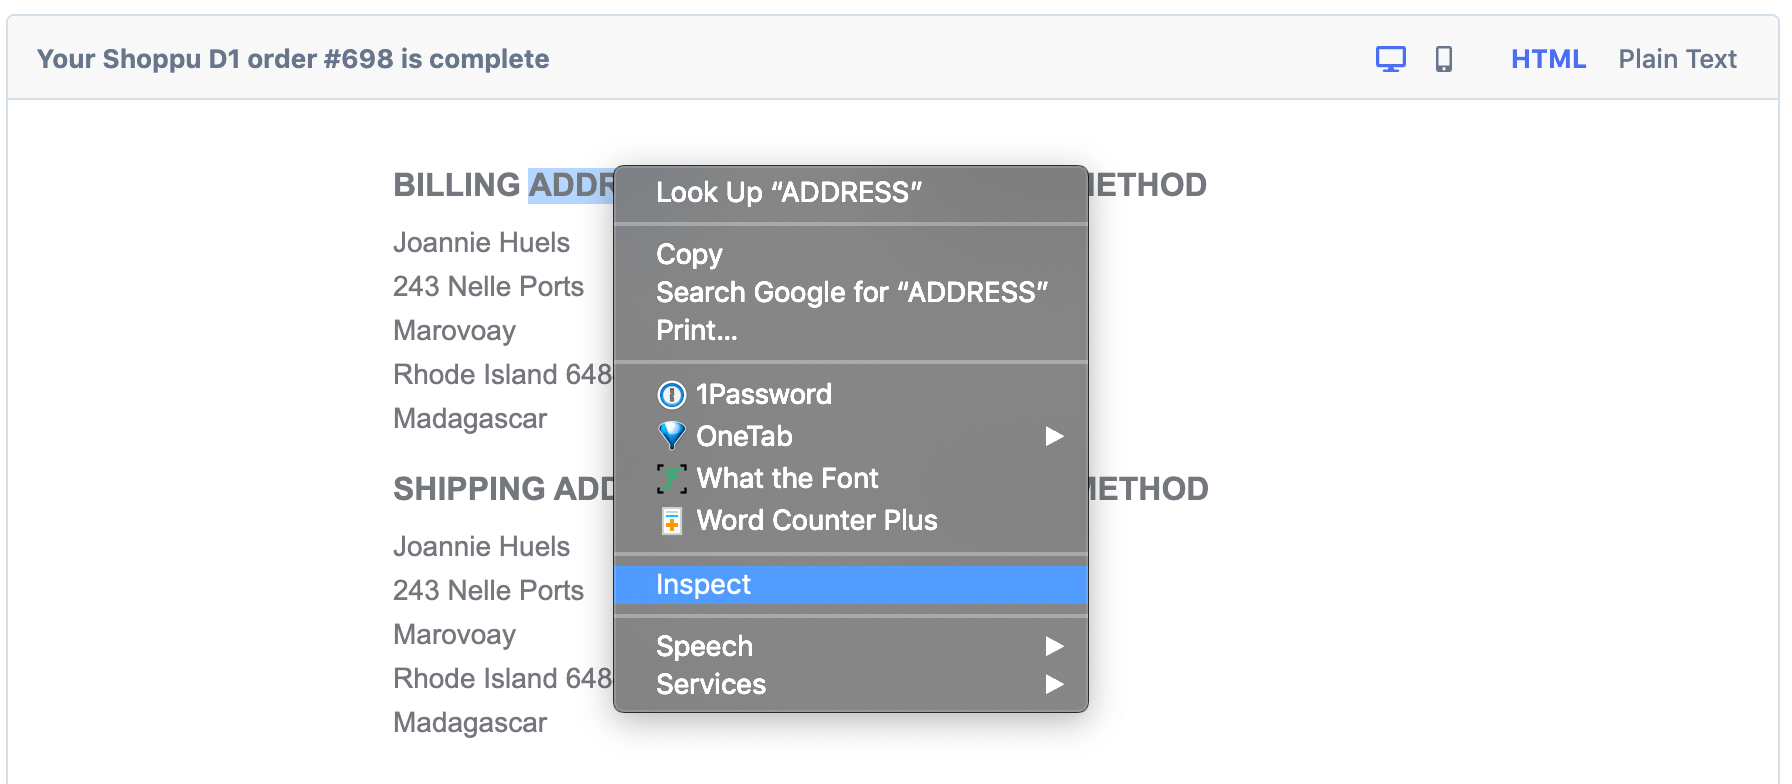
This will bring up the HTML for the page, and automatically highlight that specific element:
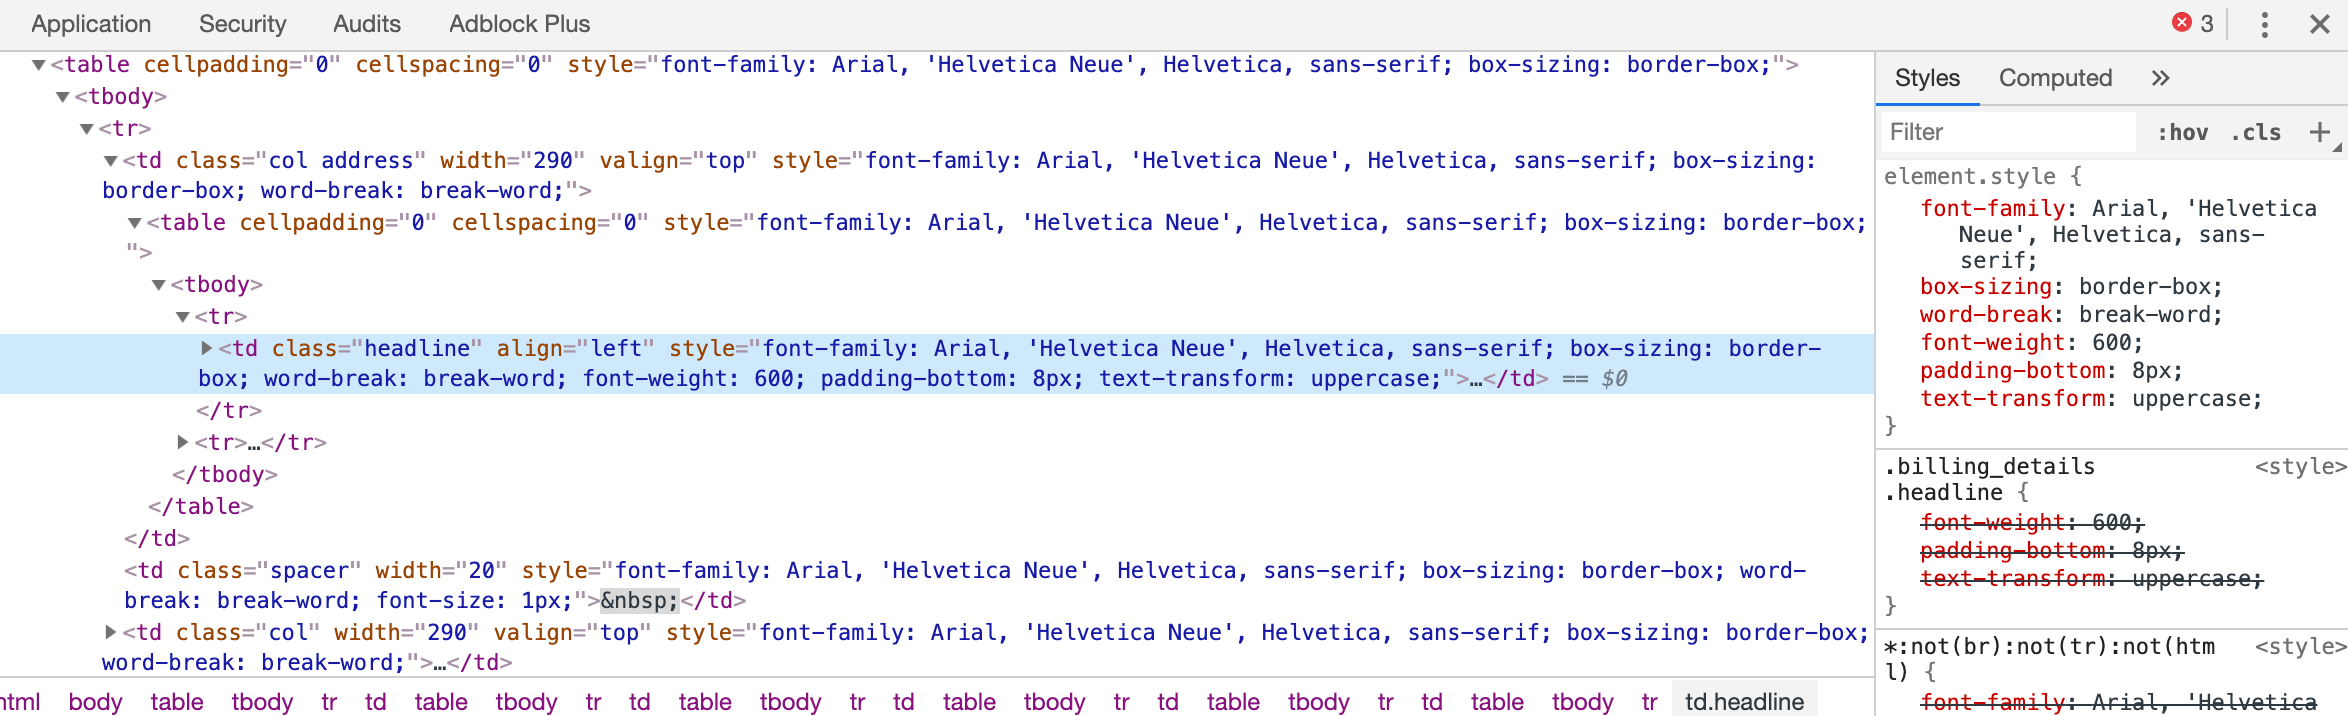
We can see the class name for this heading is headline:
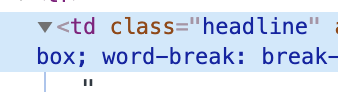
We can, therefore, target this class from the advanced settings section like we did with the other elements before. Let's try to change the colour to red (hex code #ff0000). Add the following code:
.headline {color: #ff0000;}
And as we had hoped, all the headings are now red (as they all have the headline class applied to them):
Note: You may find the Can I Email website useful for seeing which HTML and CSS properties are supported in different email clients.
Building an email from scratch using HTML
For those that want to build the email structure completely from scratch - we have a code your own option, which allows you to paste in your own custom HTML and CSS.
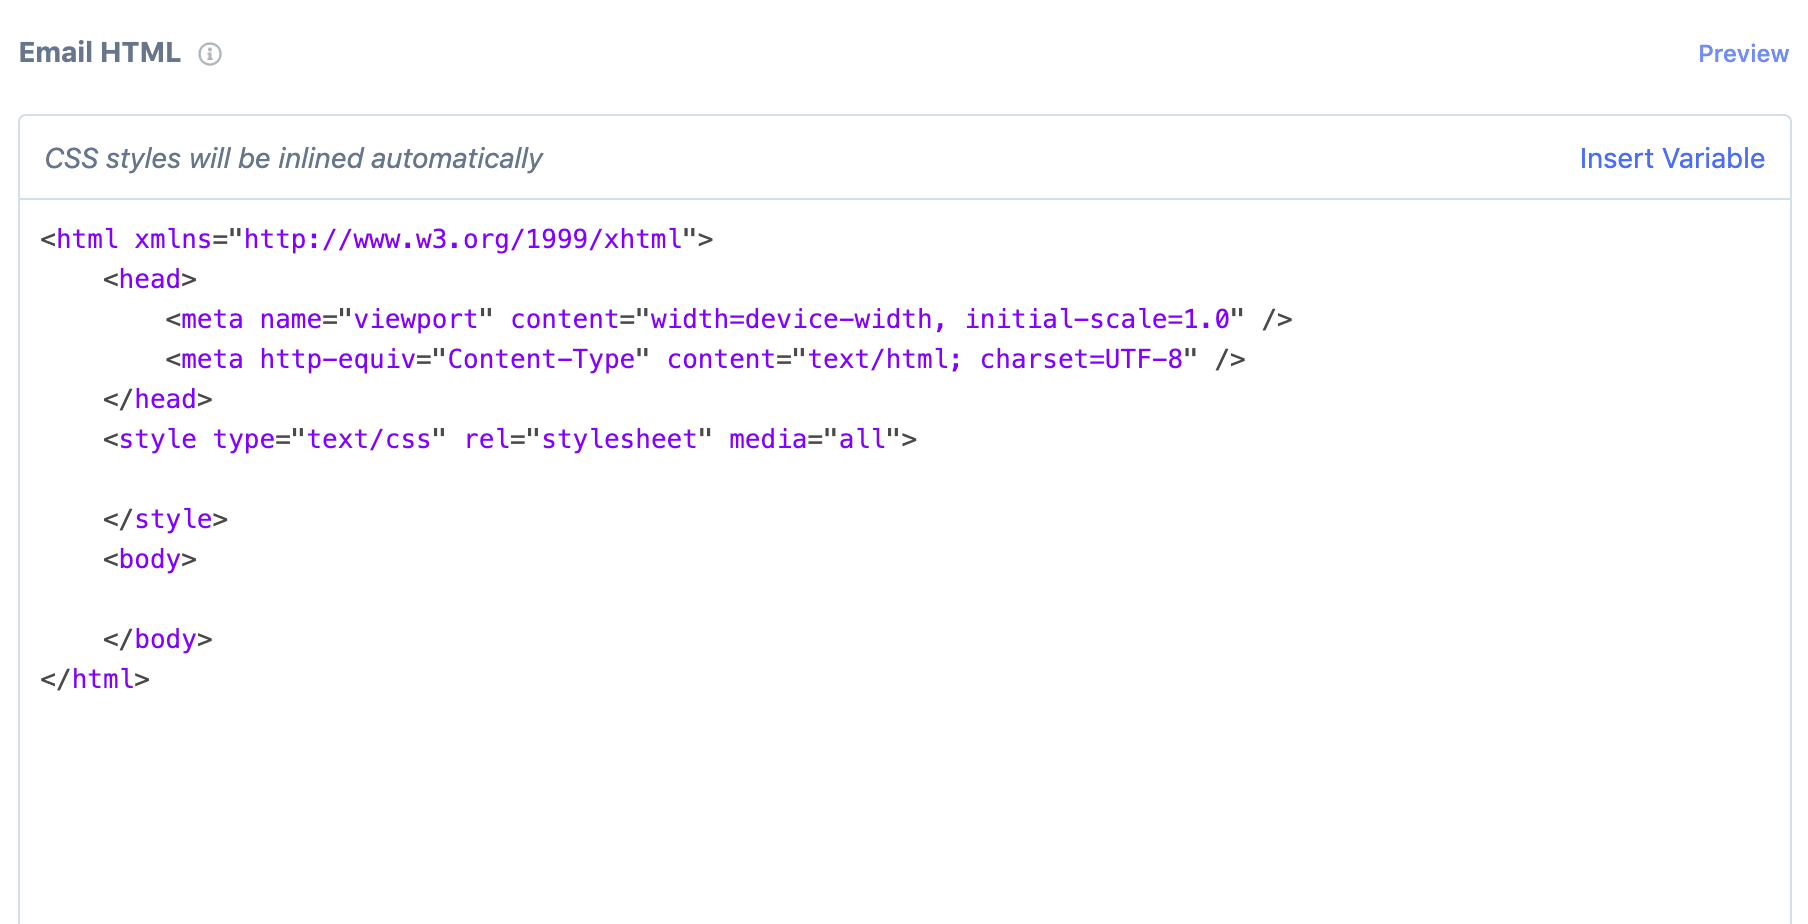
From the message tab, click the code your own button:

Then you can paste your custom HTML and CSS in the section below:
If you'd like to use this custom HTML and CSS design for multiple emails, or want to make it easier to change the message of these emails, we'd recommend using Engage Email Layouts.